Showing posts with label treat holder. Show all posts

Saturday, July 1, 2023

Life is better Crafting matchbook style treat holder

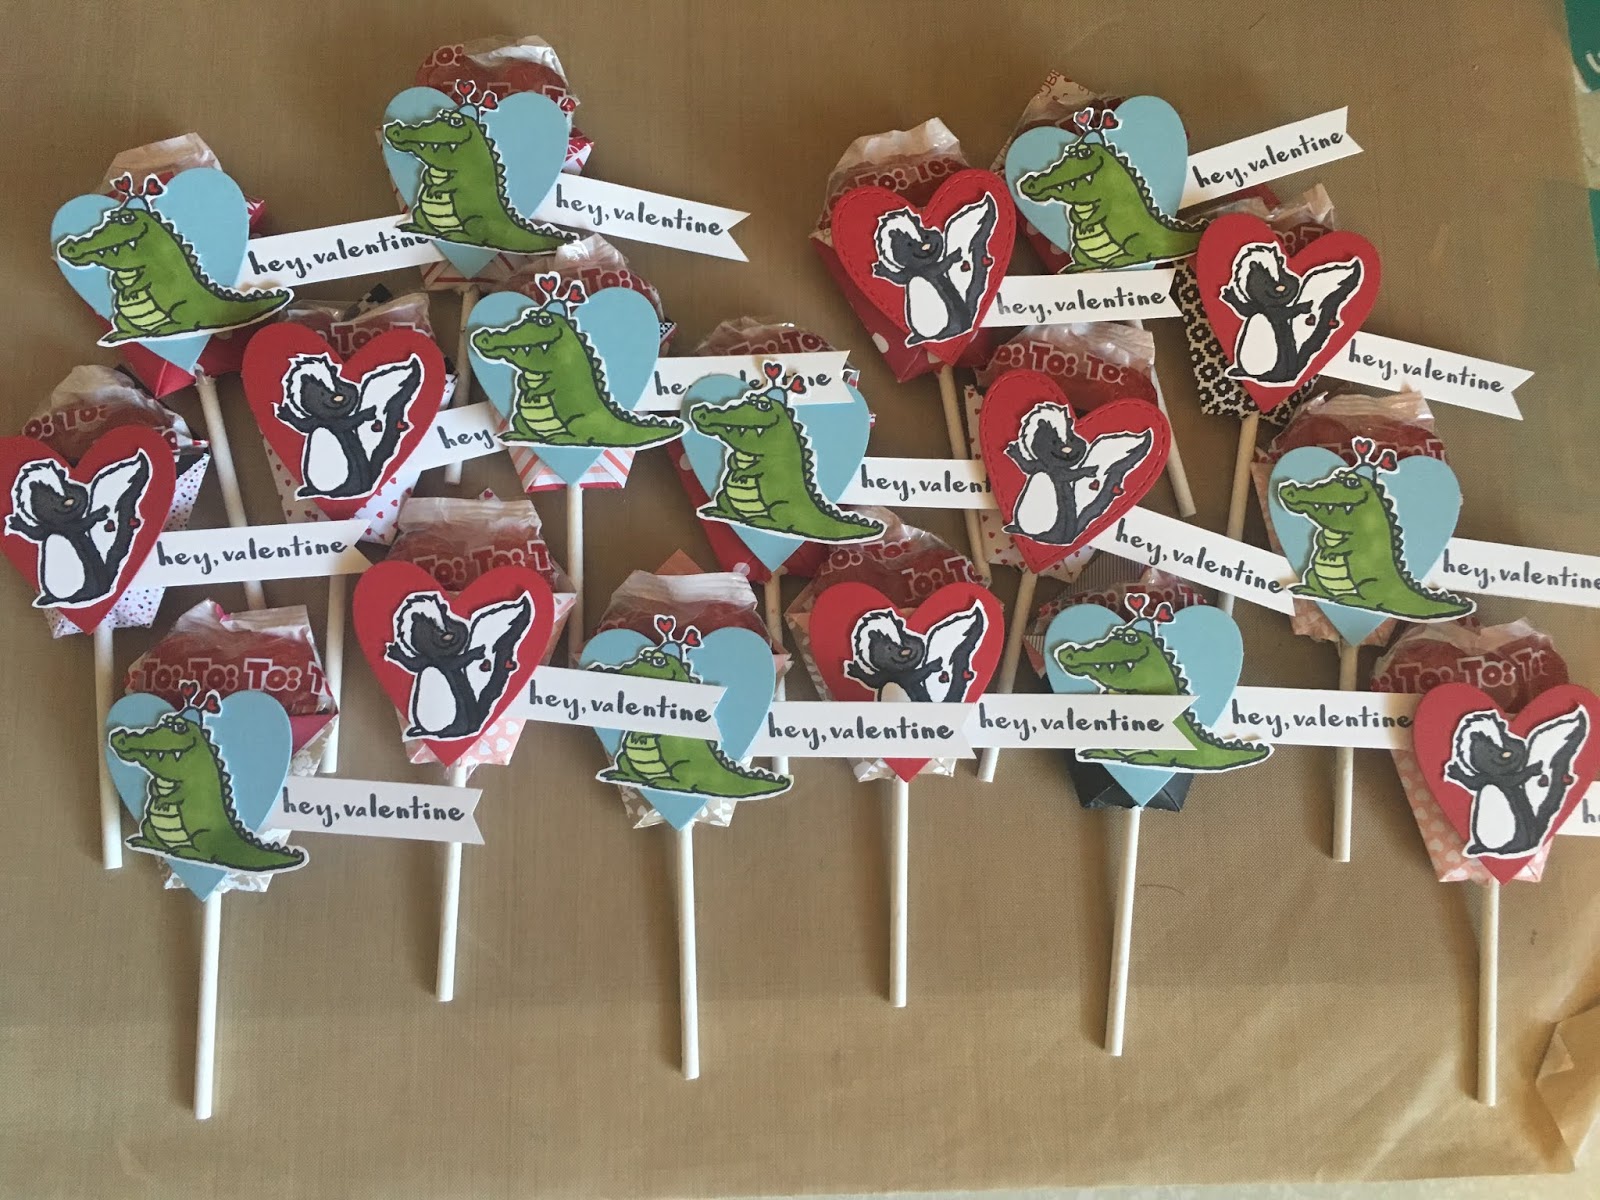
 For today, I have a fun size treat container in the matchbook style.  These are quick and easy to make.  This holder could easily be adopted for any occasion by changing up the Designer Series Paper and stamps.  They can be as elaborate or as simple as you like.  They make great table favors.  I will have additional inspiration on my Facebook business page and my Knt Stampers Group Social page this week so be sure to check it out.  The social page will have a 4th of July idea using this holder.  To see how I’ve put this project together check out the video replay on my YouTube channel HERE:


Measurements and Supplies:
Crafting With You bundle by Stampin' Up! (stamps and dies, save 10% when you purchase the bundle (161226)
3D Basics Embossing Folders (161598). I used the star pattern here.
Glorious Gingham Designer Series Paper (163170)
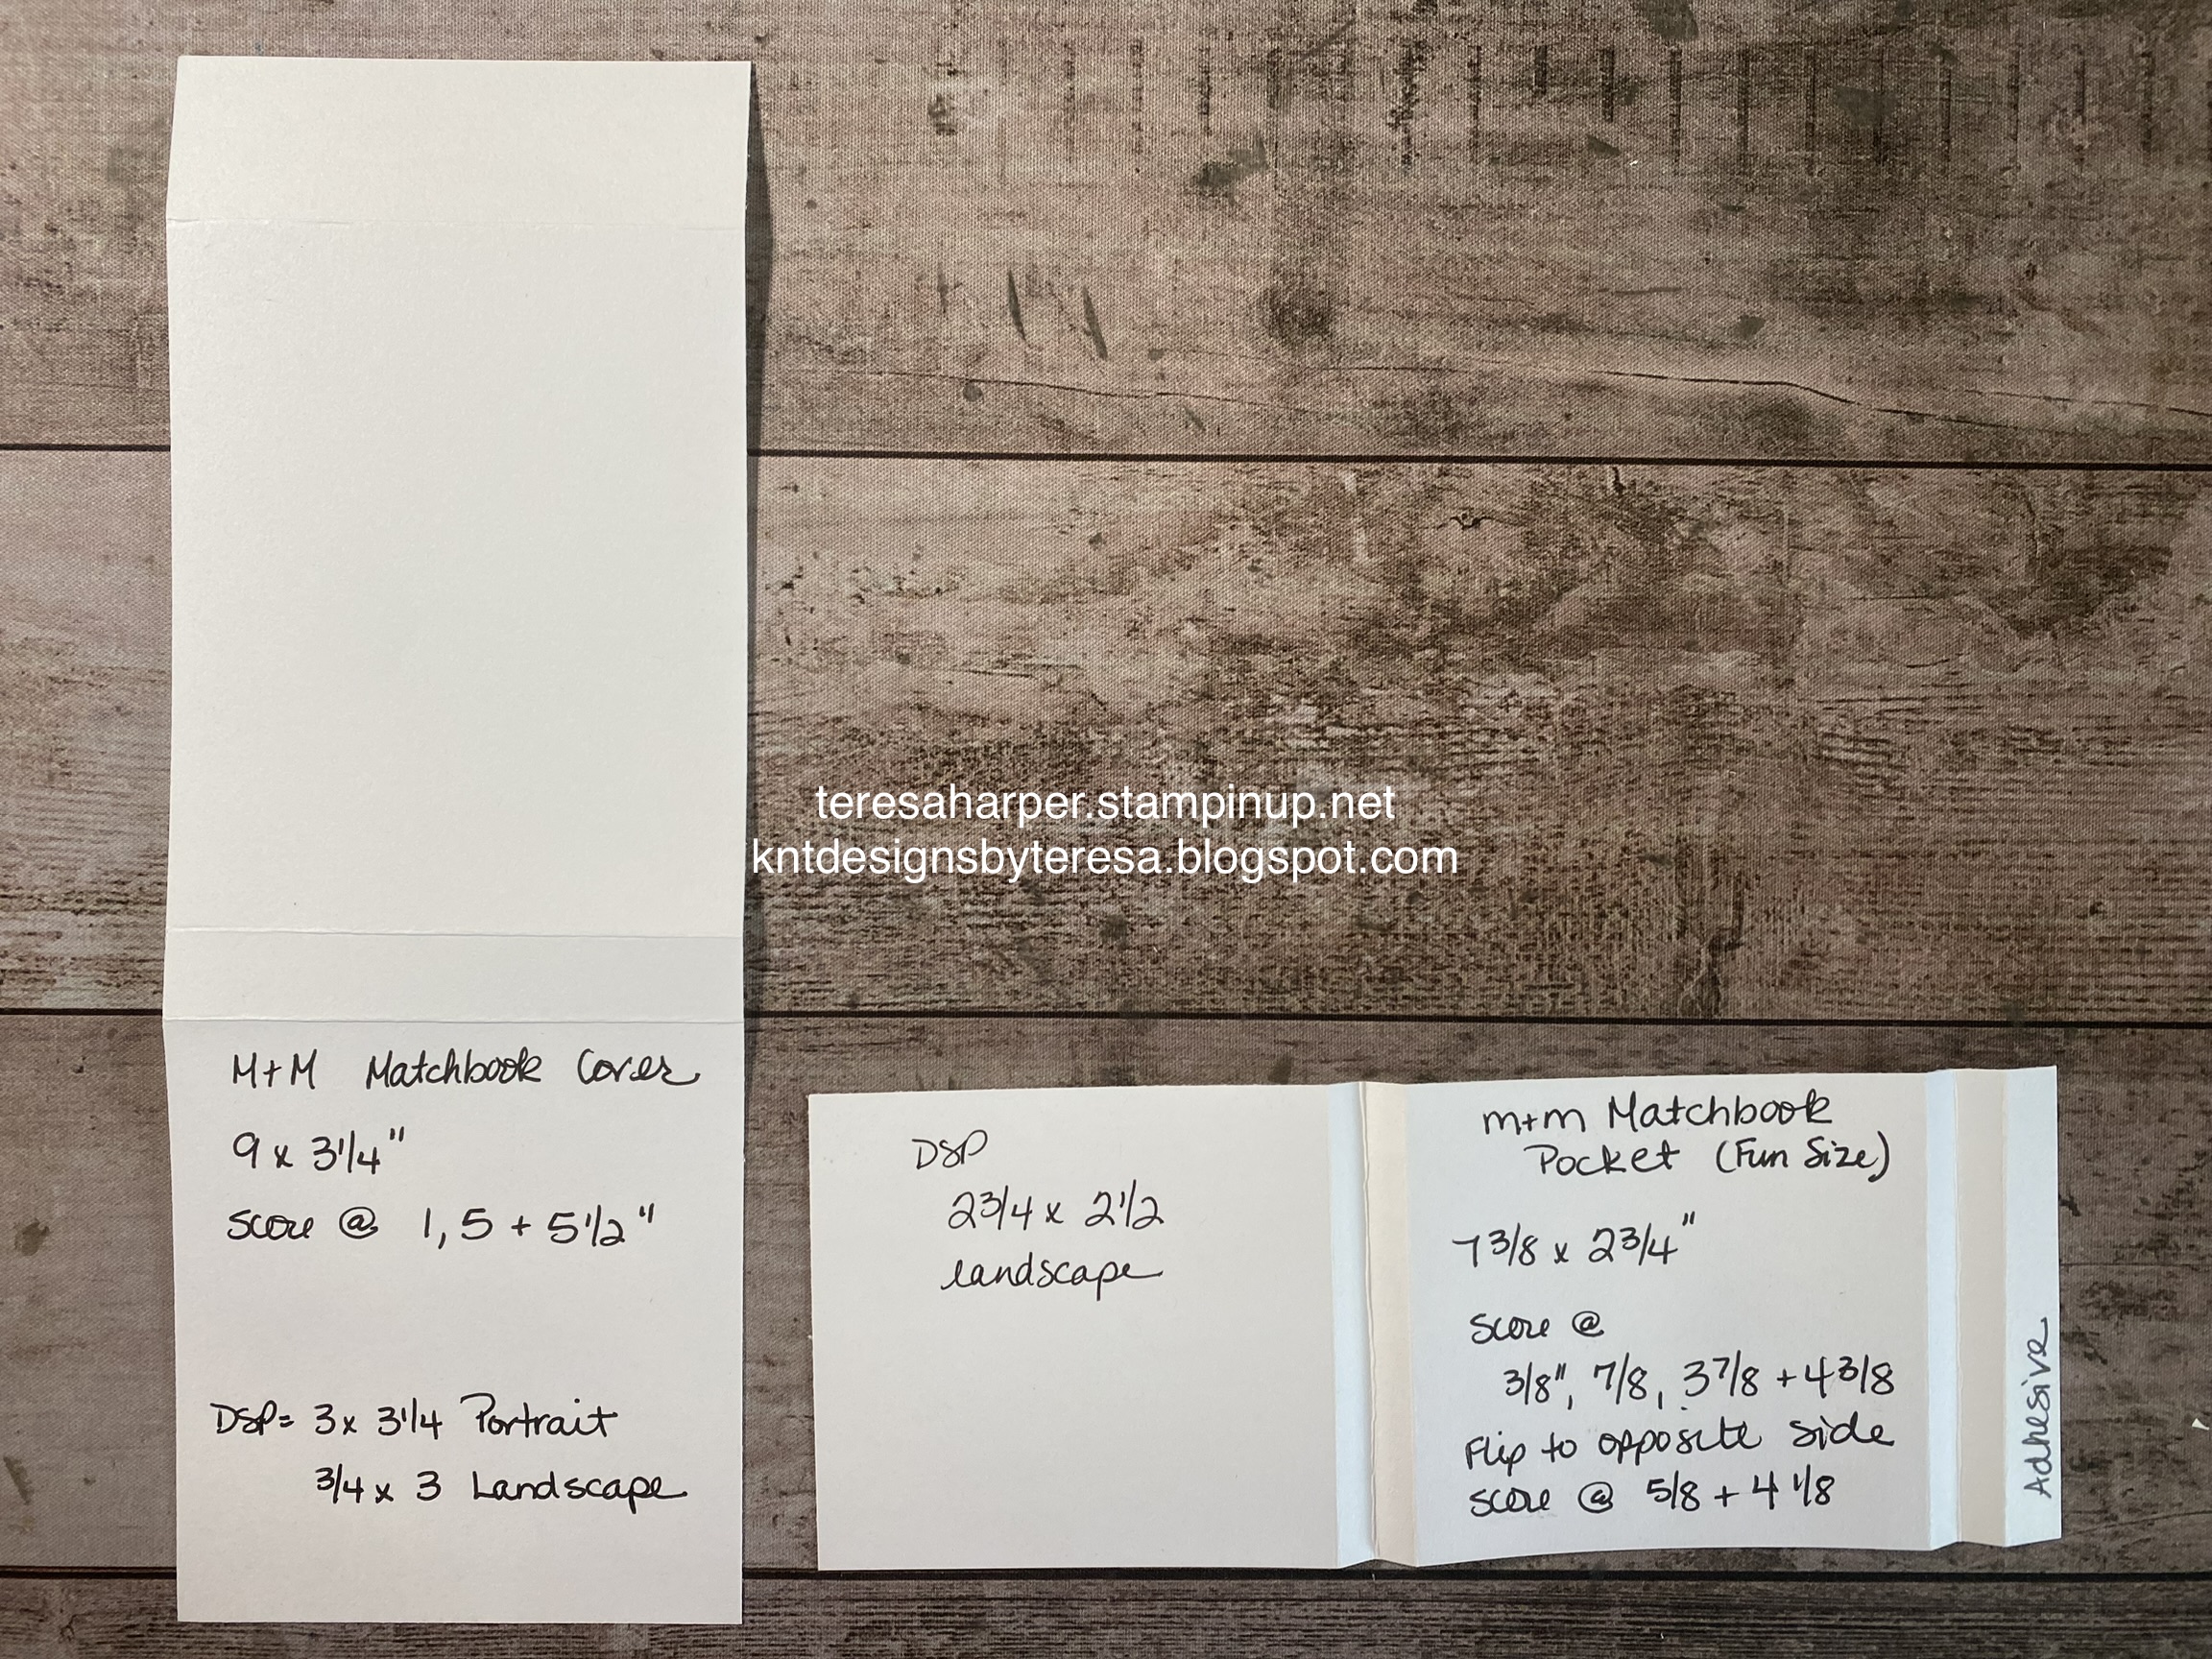
    3 x 3 1/4", 3/4 x 3" and 2 3/4 x 2 1/2"
Pebbled Path cardstock, 9 x 3 1/4", score at 1, 5 & 5 1/2" on the 9" side.
Berry Burst cardstock, 7 3/8 x 2 3/4", score on 7 3/8" side at 3/8", 7/8", 3 7/8" & 4 3/8"
    flip cardstock over to opposite side and score at 5/8" and 4 1/8" again on the 7 3/8" side.
Basic White cardstock for stamping and die cutting images
Crumb Cake cardstock scrap 
Ink Pads: Berry Burst, Night of Navy, Pebbled Path
Stampin' Blends markers in Dk Bubble Bath to color hearts
Wink of Stella glitter brush

Thank you so much for stopping by.  I hope you make some of these, if so, I would love to see them.  Be sure to share over on Facebook in my Knt Designs Stampers Group Social so we can all be inspired.

Until next time; be happy, stay healthy and happy stamping!
Teresa


Saturday, December 3, 2022

Gift Card tag and/or treat holder with Celebration Tags, 11th in the 12 Projects of Christmas 2022 series

 I hope you can use this tag made into a gift card holder OR treat holder.  I used the Celebration Tags dies to make this project.  My idea was that you could either attach to a gift or hang on the Christmas tree as a decoration with a gift card inside for the recipient.  

To see how I put this tag together, head on over to my YouTube channel HERE:


Measurements and Supplies: 
Celebration Tags dies
Celebrate with Tags stamp set
Split Card Texture dies
Mint Macaron cardstock for large tag die cut
Basic White cardstock 2 1/8" x 3 1/4", cut with Split Texture die
Basic White cardstock for stamping and die cutting
Basic White cardstock for inside 2 x 3 1/4" (optional)
Polished Pink Open Weave Ribbon
Ink Pads: Shaded Spruce, Polished Pink

Reminder:  Last Chance sale is going on now and all items are while supplies last.  Be sure to check the Clearance Rack as well, new items were added on December 1st.  You can shop in my online store by clicking on the shopping cart in the upper right.

Until next time; be happy, stay healthy and happy stamping!
Teresa

Monday, April 15, 2019

Coffee Cafe Tic Tac treat holder made with love

Last week I was at my bi-annual paper crafting retreat.  I like to leave pillow gifts each night for the ladies.  We usually have between 6 and 7 total, including myself.  The ladies look forward to finding these gifts on their pillows and I really enjoy being able to do so for them.  I have so much fun ahead of time, planning for and making the gifts.  Usually, I CASE an idea from someone and then make it my own.  This particular gift I made completely from scratch because the idea I had in mind was simply too small for the Tic Tac treats I picked up at the Dollar Tree.  The Tic Tacs came in a pack of three.  They aren't the regular size containers, nor are they the mini size ones that Paper Pixie gets from Amazon either.  So a mid-size container had to have it's very own box....so this is what I came up with.  I love how they turned out.  This treat holder features the Coffee Cafe stamp set (143677) and the matching Coffee Cup framelits (143745).  I did use retired designer series paper, but you could use anything you have on hand and change the colors accordingly to suit your needs.  The treat box is made from pool party cardstock.  After making the two box pieces, I stamped and cut out my dies to piece together my cups.  I then added the completed cup to the top of the box with Tombow multi purpose liquid glue (110755)


I love how they came out.  They were a perfect fit for the treats and the ladies loved them.  Thanks for taking time out of your busy day to stop by my blog today.  Please leave me a comment, I'd love to hear from you.  If you would like to purchase any items I've used today, or any other Stampin' Up! products, I would appreciate your business.  Simply click on the shopping cart in the upper right, it will take you directly to my online store where you can shop 24/7.

Until next time, make it a great day and happy stamping!

Thursday, March 14, 2019

St. Patricks Day tea together treat card

Today’s project is a 3D project.  I got the idea from LeAnn Greff who had made a similar project; however, her’s did not fit my chosen treat.  I had to alter the dimensions of the holder to fit my treat.  The finished size of the card front is 2 3/4” x 2 3/4”.  It features the Painted Seasons Designer Series Paper 149574 free during Sale-a-Bration but only until the end of this month, so hurry to get your $50 order in to earn this paper for FREE!  I used the tea cup from Tea Together 148779 and the matching Tea Time framelit dies 149697 which are also a Sale-a-Bration FREE item with a $100 purchase.  I masked the outside of the tea cup after stamping it in Momento Tuxedo black ink, then stamped the clover from Amazing Life onto the tea cup.  The dot stamp is also from Amazing Life.  I then colored the image using the Call Me Clover Stampin’ Blends combo set.  Then using the coordinating framelits, I diecut the tea cup (Inspiration from Kathy Morgan for the tea cup). The sentiment comes from the Amazing Life stamp set and is diecut with the Rectangle Stitched Framelit dies which can be purchased as a bundle 150624 through the end of May 2019 to save you 10%.


In order to make the card base treat holder, you need a 2 3/4” x 10 1/2” piece of Call Me Clover cardstock.  Score at 3/4, 3 1/2, 4 1/4, 7 and 7 3/4”.  On the square closet to the 3/4” inch score, using your layering circle framelits 141705, diecut a hole with the circle closet to 1 1/4”.  Then diecut in whisper white a scallop closest to 1 1/2” and the same circle die used previously to make the scalloped frame to got around.  Adhere this to the card base.  Stamp Have a Lucky Day from Itty Bitty Greetings in the lower right corner in Call Me Clover.  Fold and burnish on all the score lines.  On the 3/4” strip at one end, place liquid glue or tear tape.  I trimmed this piece off just a hair so it would fit properly when folding up and adhering to make the treat holder portion.  Adhere the 3/4” end to the 3/4” scored strip between the squares to form the treat box.  I designed this size to fit a Knoppers  Milk Hazlenut Wafer I found at Walmart.  You can now decorate the front with the tea cup and sentiment.  I love how his project turned out and the wafers are delicious.😋

I thank you for stopping by my blog today and I hope your are inspired to stamp something today.  Please leave me a comment, I would love to hear from you.  If you need to purchase any Stampin’ Up! Supplies, please click on the shopping cart in the upper right, it will take you directly to my online store.  I would really appreciate your business.  Make it a great day and happy stamping!

Friday, February 8, 2019

Hey Love lollipop treat holder

I put together these treat holders after seeing a video by Darcy of Rejoice and Create.  You can check out her video over on YouTube.  I decided to use up some retired Designer Series Paper I had on hand.  I made up 34 lollipop holders.  I then decorated them with the Hey Love stamp set by Stampin’ Up! using the skunk and crocodile (or alligator) from the set.  I colored them using my Stampin’ Blends markers (which I absolutely love).  Colors used are Balmy Blue combo, Lovely Lipstick light, Granny Apple Green combo, Basic Black combo, Smokey Slate light and Ivory markers.  I fussy cut out each critter and mounted on a heart cut with the Be Mine Stitched framelits in Real Red.  The sentiment is also from Hey Love and stamped in Momento tuxedo black ink on Whisper White as are the critters.

Here is a closer look at the critters.  To ensure I didn’t lose the facial features of the skunk, I used the Stamperatus to stamp each skunk on a square piece of cardstock big enough to stamp four by rotating the cardstock then stamping until all four were on the cardstock.  I then colored each skunk and after I was finished coloring, I put the squares back on my Stamperatus and restarted each skunk, thereby ensuring the facial features were not lost in the coloring.  It also gave more definition to the body.

Thank you for stopping by my blog today.  I hope I’ve inspired you to do something creative.  Please leave me a comment, I would love to hear from you.  If you would like to purchase any supplies, please click on the shopping cart in the upper right.  It will take you directly to my online store.  Happy stamping!

Friday, October 14, 2016

Jar of Haunts Mummy treat holder


This little treat holder is so stinking cute!  He's made with the Jar of Haunts  (142247) stamp set and Everyday jar framelits (141490).  His hat is from Snow Place (139738) and cut with the matching framelits Snow Friends (139664). He's stamped on whisper white with archival basic black ink.  I used an aqua painter and a little smoky slate ink to "dirty" his bandages to give him a little character.  I stamped two mummies and two hats then created a box to hold the treats.   I added the hats and tied them together to hold the box closed with some Halloween Night baker's twine (142027).  The final detail was to add some googly eyes.  He holds two hershey nuggets.


Thanks for stopping by today.  Please leave me a comment, I'd love to hear from you.  I hope you are inspired to stamp something for someone today.

Friday, September 23, 2016

Halloween Mummy Jar of Haunts treat holder

When I saw the mummy image in the Jar of Haunts (142247) stamp set, I just knew I had to turn it into a treat holder.  It turned out so cute.  I first stamped the mummy image twice on whisper white cardstock and cut out with the coordinating die from the Everyday Jar (141490) framelits.  I then used a little smoky slate ink with an aqua painter to very lightly distress the "cloth" to give it a little dimension.  I then inked up two hats from the Snow Place (139738) stamp set and cut them out with the coordinating snow friends(139664) framelits.  I used a 3" x 3 1/2 " piece of whisper white cardstock to form the treat holder.  It is scored on the 3" side at 1" and 2" and on the 3 1/2" side at 1" and 2 1/2".  Then adhered to the base of the mummy on the longer sides.  It will hold two Hershey nuggets.  I then tied a piece of Halloween Night Baker's Twine in the black and pumpkin pie to the brim of the top hat to close the top.  Google eyes were added to finish off his look.  I hope you like him.  This will be my make-n-take at an upcoming workshop.


Thanks for taking time out of your busy day to stop by.  Please leave me a comment.  I'd love to hear your thoughts.  Have a great day and happy stamping.