I’m not sure which of my three Lucky Clover projects is my favorite, I do really love how this one turned out. I’ve combined several products to pull this one together. To see how I made it, head on over to my YouTube channel HERE:
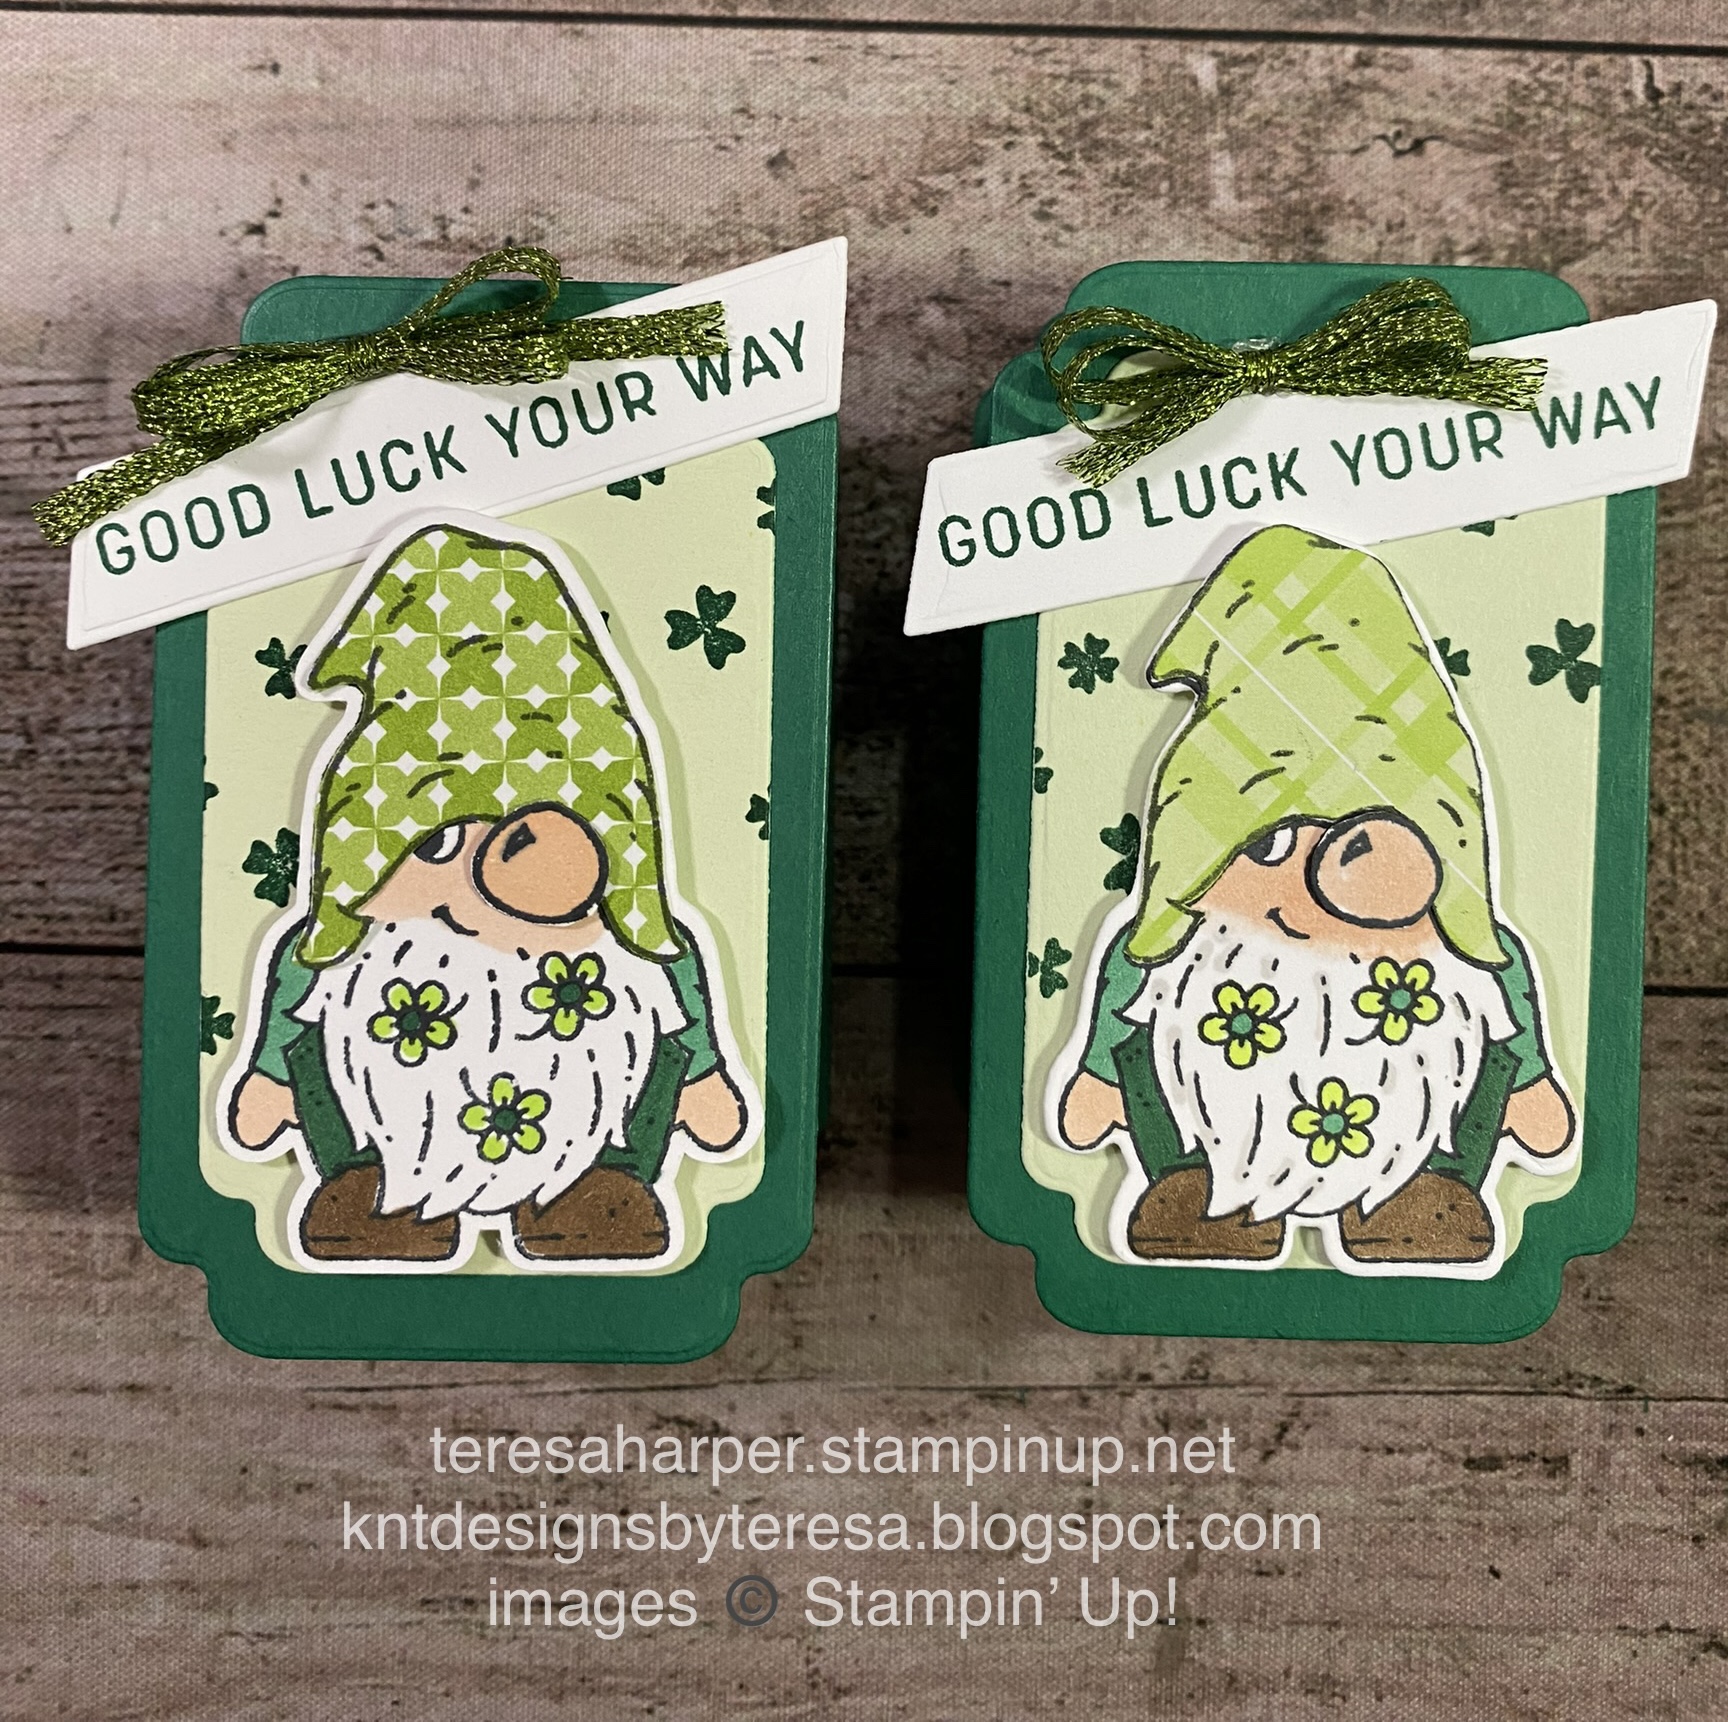


Lucky Clover stamp set
Friendly Gnomes and Gnomes dies
Something Fancy dies
Sending Smiles stamp set for sentiment
Parakeet Party Metallic Woven Ribbon
Shaded Spruce Ink Pad
2022-24 In Color 6x6 Paper stack in Parakeet Party OR Dandy Designs DSP in Granny Apple Green (now retired) for gnome hat
Shaded Spruce cardstock
For Box bottom: 3 7/16 x 4 7/16", scored at 1" on all four sides
For Box top: 3 x 4" scored on all four sides at 3/4"
Shaded Spruce cardstock for two of the largest scalloped corner rectangle dies
Soft Sea Foam cardstock for second largest scalloped corner rectangle die
Stampin' Blends alcohol markers: SU 900 (Natural Tones light combo), Dark Parakeet Party, Shaded Spruce, SU 300 (Natural Tones Medium Dark Combo)
Basic White cardstock for gnome, gnome nose and sentiment strip
Click on the shopping cart in the upper right to shop my online store for Stampin' Up! supplies. I truly would appreciate your business. Thank you for taking time out of your busy day to stop by my blog!
Until next time; be happy, stay healthy and happy stamping!
Teresa


