Showing posts with label fancy fold. Show all posts

Sunday, February 1, 2026

Cute as a Bug Pop-out Panel card

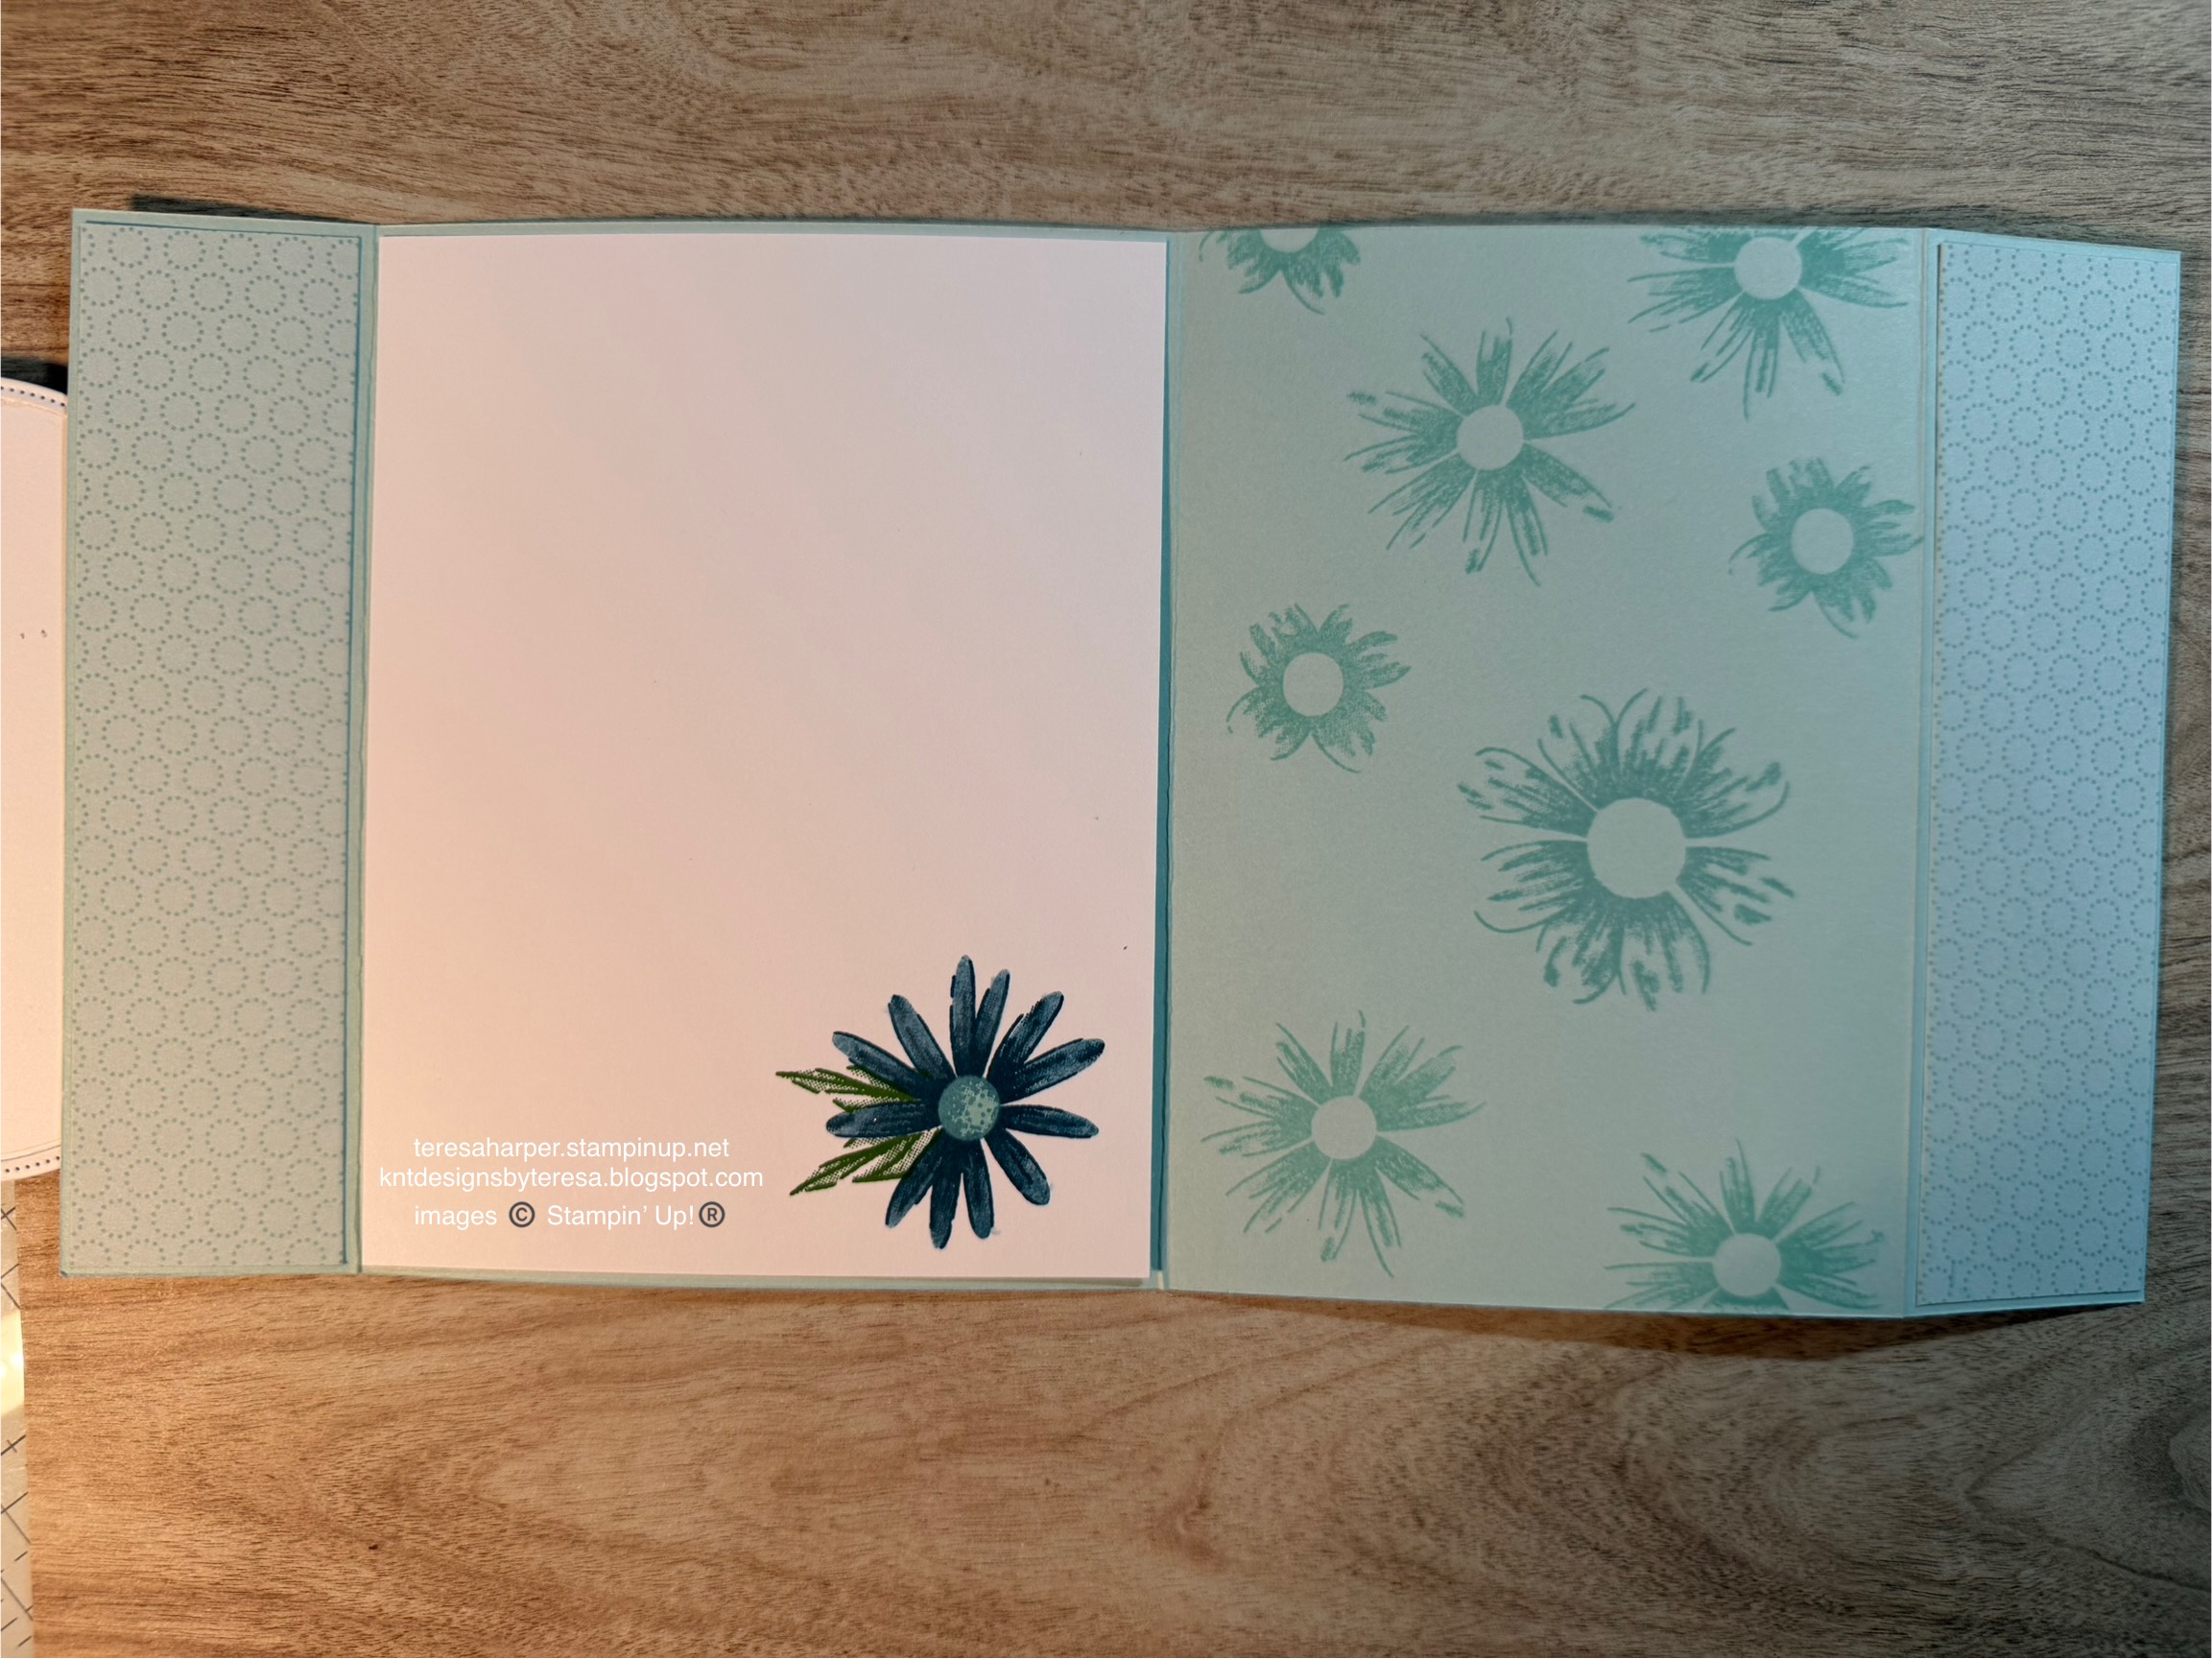
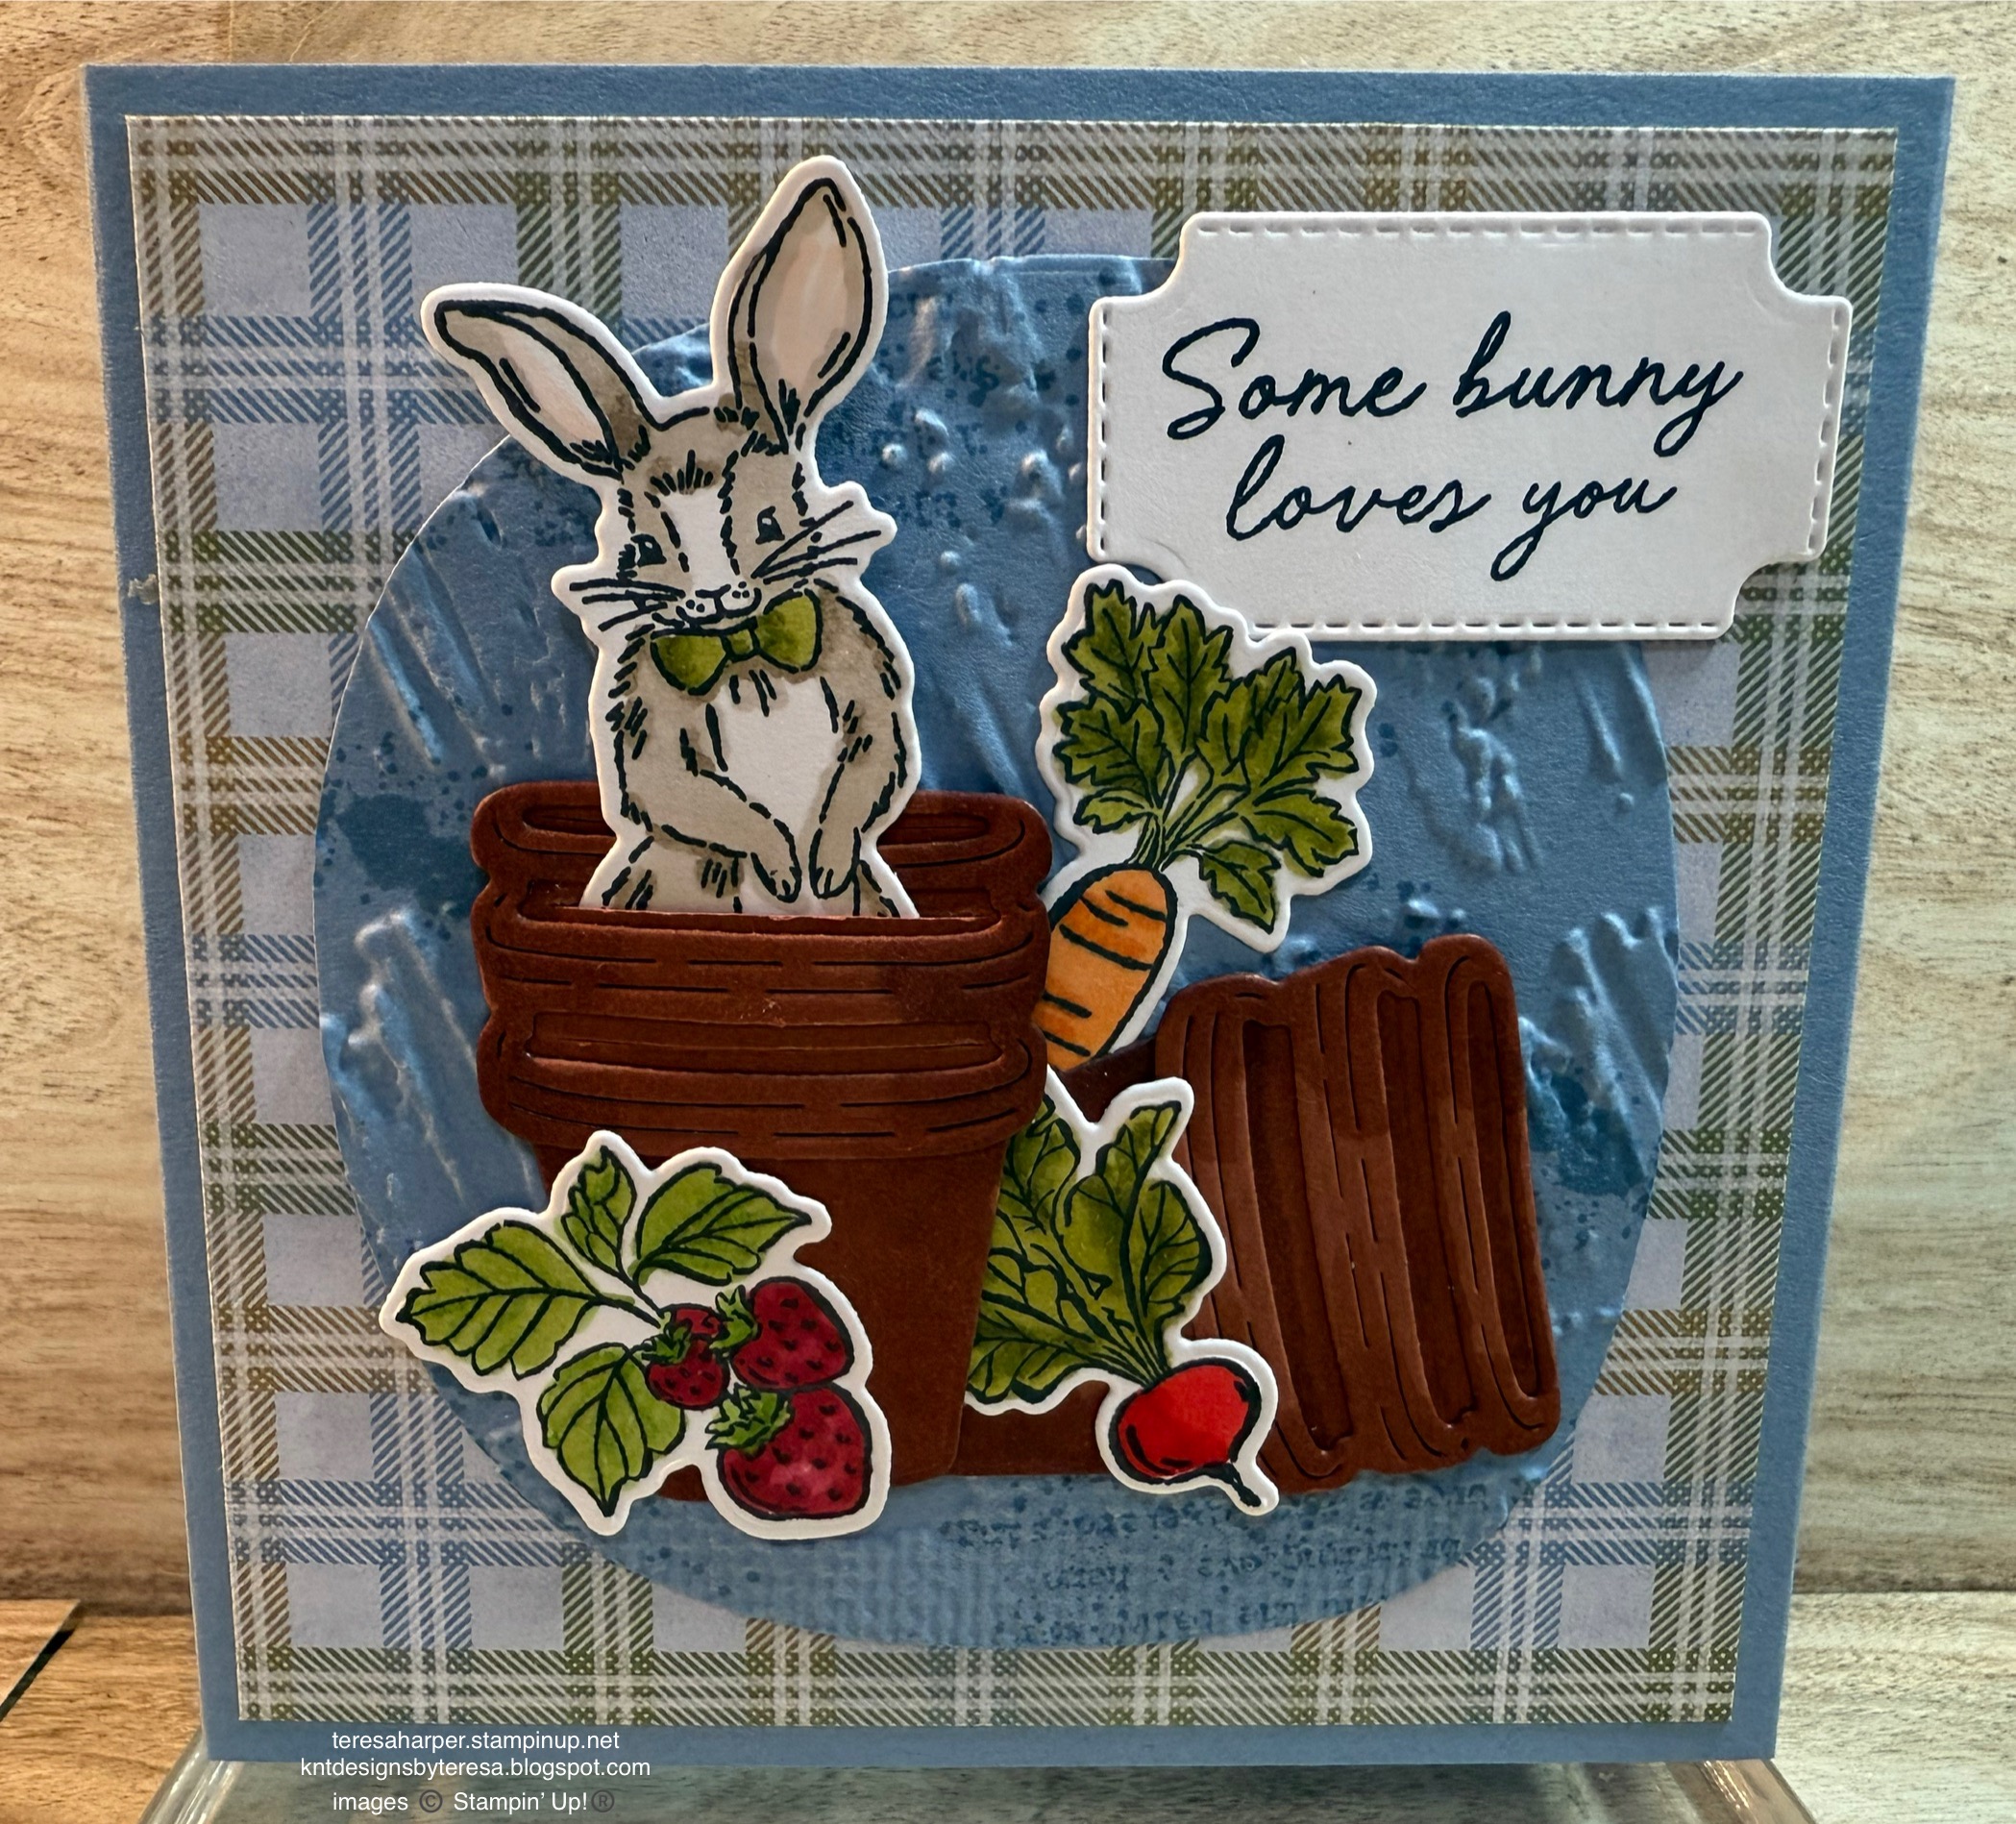
 I found another neat fun fold today.  I saw a card made by Jacque Williams and was inspired to give this fold a go using the Cute as a Bug designer series paper by Stampin' Up!  This card goes together rather quickly, especially if you use DSP as your background pieces rather than coloring the vines.  To see how I put this card together, be sure to watch the video tutorial over on my YouTube channel by clicking this link.  


Supplies and Measurements:
The Right Words stamp set 165316 (sentiments)
Addressed to You stamp set 167010 (envelope only)
Three Banner Punch 167050 (can be purchased in a bundle* with coordinating Banner Sayings)
Cute as a Bug Designer Series Paper 166994 (for images)
Stone & Vine 3D embossing folder 166990
Cajun Craze Cardstock for card base 5 1/2" x 8 1/2"
    score at 2 1/8", 4 1/4" & 6 3/8"
Cajun Craze cardstock for mechanism 1 3/4" x 8 1/4"
    score at 2 1/8" 3 1/8" 5 1/8" & 6 1/8"
Very Vanilla cardstock
    (5) pieces each 1 7/8" x 5 1/4" emboss (4) with the stone & vine embossing folder or use DSP
Ladybug Garden Epoxy Shapes 167005
Ink Pad: Memento Tuxedo Black
Stampin' Blends markers: Lt Old Olive (envelope) Petal Pink, Pumpkin Pie

Thanks so much for stopping by today!  To purchase the Stampin' Up! supplies I've used, or any additional ones, click on the shopping cart to the right.  I appreciate it so much!

Until next time; be happy, good health to you and happy stamping!
Teresa

*Purchasing bundles saves 10% over the individual piece prices when combined.  You must use the bundle item code for the 10% bundle discount.  When purchasing Last Chance items; be sure to check if the individual piece prices are discounted.  Individual piece prices could be less expensive if the discounts are deep enough.


Saturday, January 31, 2026

Hello Back Bend Fun Fold card with Sweet Bugs

 Today I have another fun fold card for you. This one is called the back bend card.  I saw it and had to give it a try.  I altered the measurements though because I didn't think the right-side measurement was large enough.  I wanted a little more room to adhere my focal point.  I also think it's a little more ascetically pleasing to my eye.  You can watch the video tutorial on how to make a card like this one over on my YouTube channel by clicking this link.


Supplies and measurements:
Sweet Bugs bundle* 167002 (includes stamps and coordinating dies)
Simply Said 163756 for the front sentiment
Fabulous Sayings (Product of the Month available while supplies last) inside sentiment
Lovely Stripes Embossing Folder 167179
Mossy Meadow cardstock 3 1/4" x 4 1/4"
Soft Sea Foam two-tone cardstock
    (1) 2 3/4" x 5 1/4"
    (1) 1" x 5 1/4"
    (1) 3/4" x 1 3/4" inside
Very Vanilla cardstock for card base 5 1/2" x 8 1/2"
    score on long side at 1 1/4" 2 1/2" & 5 1/2"
    inside layer 2 3/4" x 5 1/4"
Cute as a Bug Designer Series Paper, 3" x 4"
Ink Pads: Cajun Craze, Mossy Meadow, Memento Tuxedo Black
Stampin' Blends markers: Basic Black Light, Smoky Slate, Gray Granite Light, Mossy Meadow, Pumpkin Pie Light, Cajun Craze Light (inside colors) Petal Pink Light, Poppy Parade Light, Old Olive light
Moody Palette Glossy Dots 167180

Thanks so much for stopping by today.  I hope you like this fun fold and will give it a try.  

Until next time; be happy, good health to you and happy stamping!
Teresa

*Purchasing bundles saves 10% over the individual piece prices when combined.  You must use the bundle item code for the 10% bundle discount.  When purchasing Last Chance items; be sure to check if the individual piece prices are discounted.  Individual piece prices could be less expensive if the discounts are deep enough.

Wednesday, January 28, 2026

Pop Out Diamond Fun Fold with Sweet Bugs

I saw this really cool fun fold Susan Campfield had made and I was inspired to make one of my own.  I love this fold.  It looks really difficult but is extremely easy to make.  I made several cards using different focal images so be sure to check out my Facebook page for photos of those.  Please follow along while I make it in the video tutorial over on my YouTube channel.  You can find it by clicking this link.


This is the reverse side of the card where you can write your message.

This is a look at the card from the top so you can see the diamond shape.

Supplies and measurements:
Sweet Bugs bundle 167002* (includes stamps and coordinating dies)
Banner Sayings bundle 167051* (includes stamps & three banner punch)
Beautifully Celebrated dies 166974 (can be purchased in a bundle* with stamps)
Stone & Vine 3D Embossing Folder 166990
Pearlized Faceted Circles 166978
2 pieces Basic White Thick cardstock for card base
    score each piece at 3/4" each end and then in the center at 2 3/4" on the long side
Cute as a Bug Designer Series Paper
    (2) pieces 1/2" x 4", (2) pieces 1 3/4" x 4"
Petal Pink two-tone cardstock (2) pieces each 1/2" x 4"
Basic White cardstock for stamping images & sentiment
    (1) piece 1 3/4" x 4" for back 
    (2) pieces each 3/4" x 1" scored at 1/2" on the long side for mechanism
Ink Pads: Memento Tuxedo Black, Mossy Meadow, Cloud Cover, Soft Sea Foam
Stampin' Blends markers: Blackberry Bliss, Cloud Cover, Petal Pink, Pumpkin Pie, Crumb Cake, Poppy Parade, Basic Black, Smoky Slate, Old Olive, Mossy Meadow
Blending Brushes 160518
Wink of Stella Glitter Brush 141897

Thanks so much for stopping by.  You will find all the supplies I've used for my card today over in my online store.  Click on the cart to start shopping.

Until next time; be happy, good health to you and happy stamping!
Teresa

*Purchasing bundles saves 10% over the individual piece prices when combined.  You must use the bundle item code for the 10% bundle discount.  When purchasing Last Chance items; be sure to check if the individual piece prices are discounted.  Individual piece prices could be less expensive if the discounts are deep enough.


Wednesday, May 14, 2025

Fun Fold card with Floral Impressions suite of products by Stampin' Up!

 One of my friends challenged me to recreate the fun fold of a card she had seen online.  The blog post didn't have measurements and/or a tutorial of any sort.  So, I set to work trying to figure out the measurements and how it had been done.  The card below is what I came up with.  I hope you like it.  The fun fold is extremely easy to make.  I hope you recreate one like it using your supplies.  To see the video replay on how I put my card together, watch the video over on my YouTube channel.  While you're there, if you haven't already, be sure to subscribe and hit the notification bell so you will know each time I upload a video and/or go live.


Measurements and Supplies:
Impressions Abloom bundle* 165617 (includes stamps 165605 & coordinating dies 165610)
Everyday Arches stamp set 164623 (can be purchased in a bundle* 164630 with the Everyday Arches dies)
Spotlight on Nature stamps (for butterfly) 163579 (can be purchased in a bundle* 163581 with Spotlight on Nature circle dies)
Pool Party two-tone cardstock, 5 1/2" x 11", scored on 11" side at 1 1/2", 5 3/4" & 9 1/2"
Floral Impressions Designer Series Paper, two patterns
    floral pattern, 1 3/8" x 5 3/8" & 3 9/16" x 5 3/8"
    Pool Party dot pattern, two pieces each 1 3/8" x 5 3/8"
Basic White cardstock for oval dies and stamping
Basic White cardstock for inside layer, 4" x 5 1/4"
Garden Green cardstock for foliage pieces
Ink Pads: Pool Party, Misty Moonlight, Secret Sea, Blackberry Bliss, Petunia Pop, Darling Duckling, Crushed Curry, Pecan Pie
Stampin' Blends alcohol markers: Cloud Cover, Misty Moonlight, Pool Party
Iridescent Faceted Gems 163368
Wink of Stella Glitter Brush 141897

Thanks so much to my friend Jennifer for challenging me to figure out this fun fold.  Now I have it in my arsenal of fun folds to use in the future.  Thanks so much for stopping by today.  

Until next time; be happy, good health & happy stamping!
Teresa

*Purchasing bundles saves 10% over the individual piece prices when combined.  You must use the bundle item code for the 10% bundle discount.  When purchasing Last Chance items; be sure to check if the individual piece prices are discounted.  Individual piece prices could be less expensive if the discounts are deep enough.

Wednesday, April 2, 2025

Pop-up Shadow Box fun fold card using the Storybook Moments Suite

Stampin' Up! has updated the Last Chance list today.  Be sure to check out what has been added and if your favorites have been discounted.  Remember, all Last Chance items are while supplies last so be sure to hurry on over to my online store and check it out.

 Hello all, I have an easy fun fold card for you today with a complete WOW factor.  I hope you are inspired to try this fold.  It takes two pieces of card stock and five score lines to create the basic fold for the card.  You will need a punch or die for the window of the shadow box feature to complete it.  For my card today, I've used the Storybook Moments suite of products.  To see how easy it is to make, be sure to watch the video replay over on my YouTube channel.


Supplies and Measurements:
Storybook Friends bundle 164675* (includes stamps 164668 & dies 164674)
Storybook Garden Patch bundle164667* (includes stamps 164663 & dies 164666)
Elements of Text stamps 164774
Cheerful Daisies dies 161296 Last Chance item discounted while supplies last (for sentiment label only, use what you have that will work)
Boho Blue cardstock 4 1/4" x 11", on 11" side scored at 4 1/4" 5 1/2" & 9 3/4"
Boho Blue cardstock 4 1/4" x 6 3/4", on 6 3/4" side scored at 1 1/4" each end & scrap for circle
Willow White cardstock 166703 OR Basic White 4" x 4" & scraps for stamping and die cutting
Copper Clay cardstock for three clay pot die cuts
Storybook Moments DSP 164662
    1 piece 4" x 4" & 1 piece 1" x 4"
Timeless Plaid 6x6" 164678 4" x 4"
Plaster Painting 3D Embossing Folder 164656
Around It All dies 164725
Ink Pads: Boho Blue, Secret Sea, Memento Tuxedo Black
Stampin' Blends markers: Pumpkin Pie, Mossy Meadow, Old Olive, Crumb Cake, Boho Blue, Petal Pink, Cherry Cobbler, Copper Clay, Real Red

I hope you are inspired to make your own.  Please share on the KnT Designs Stampers Group Social page over on Facebook if you do.  I would love to see what you created.

Until next time; be happy, stay healthy and happy stamping!
Teresa

*Purchasing bundles saves 10% over the individual piece prices when combined.  You must use the bundle item code for the 10% bundle discount.  When purchasing Last Chance items; be sure to check if the individual piece prices are discounted.  Individual piece prices could be less expensive if the discounts are deep enough.

Monday, August 5, 2024

Filled With Cheer Majestic Fun Fold card

 Hello my friends, so happy you stopped by today.  I have a really fun and easy fun fold for you today.  This fun fold was created by Sue Campfield.  I’ve recreated it here using our featured stamp set for this week, Filled With Cheer.  To see how I put my card together, watch the video replay on my YouTube channel.


Supplies and Measurements:
Filled With Cheer stamps set 164362
Deckled Circle die 162286
Snowflake Sky 3D Embossing Folder 162026
Merriest Trees stamp set (for inside sentiment only) 162043
Iridescent Pears Basic Jewels 158987
Adhesive-backed Snowflake Assortment 162129
Ink Pads: Pretty Peacock, Memento Tuxedo Black
Stampin' Blends: Moody Mauve, Pretty Peacock, Lt Smoky Slate, Lt Gray Granite , Lt Blueberry Bushel
    Pebbled Path
Wink of Stella Glitter Brush
Card Base, Lost Lagoon 5 1/2 x 8", scored at 3 3/4" & 4 1/4", 
    flip to opposite side of cardstock, then score at 1 5/8", 1 7/8" 6 1/8" & 6 3/8"
Winter Meadow DSP 162133
(4) pieces each 1 3/8" x 5 1/4" (I used two different patterns) 
(1) piece 3/8" x 5 1/4" (I used same as one of the patterns above)
(1) 1/2" x 1 5/8" for bottom of back sentiment strip if desired (optional)
Deckled Circle 7th smallest approx 3 1/4", cut from gray pattern for stamping
Basic White Cardstock for layering
(3) pieces each 1 5/8" x 5 1/4" (I embossed two of these with the Snowflake Sky EF)
Pretty Peacock cardstock for 8th smallest Deckled Circle die approx 3 1/2"

Please order your Stampin' Up! supplies by clicking on the shopping cart in the upper right.  I'd be every so grateful for your business.

Until next time; be happy, stay healthy and happy stamping!
Teresa

Saturday, June 15, 2024

Hearts & Hugs 6 x 6 Scenery Fun Fold

 Today's card is a fun fold card.  I learned this fun fold from another demo quite a while back and I can't remember who it was now.  But thank you for this wonderful use of 6 x 6 scenery Designer Series Papers.  

To see how I put this card together, be sure to watch the YouTube replay.


Measurements & Supplies:
Hearts & Hugs bundle 163667 (on sale through June 30, 2024--includes stamps 163659 & dies 163666*
Nested Essentials dies 161597
Musical Jamboree stamp set 163616 (optional, I used for texture)
Thoughtful Journey DSP 163303 5 1/4" x 6"
    Cut 6" side at 2 3/4 & 1 1/4" which leaves 2" piece (be sure to cut in the order listed and keep pieces     in order of the scenery. Use 3/4" strip you cut from the bottom to make 5 1/4" for sentiment layer.
Card base = Pretty Peacock cardstock 5 1/2" x 8 1/2" scored at 1 1/2" & 4 1/4"
Basic White cardstock 2" x 5 1/4" for inside, scraps for die cutting
Scraps of Mossy Meadow, Peach Pie & Petunia Pop cardstock
Ink Pads: Basic Gray, Mossy Meadow, Boho Blue, Pretty Peacock
Stampin' Blends alcohol markers: Gray Granite, Petunia Pop & Natural Tones Medium Light SU 800
Boho Blue marker for eye (optional)
Iridescent Foil Gems 162842
Blending Brushes

I hope you enjoyed this card and will try showing off your 6 x 6 scenery papers using this fun fold.  
Until next time; be happy, stay healthy and happy stamping!
Teresa

*Bundle pricing saves 10% over the combined prices of the individual pieces
Sale saves an additional 10% off the stamp & die bundle through June 2024.

Saturday, May 18, 2024

Country Flowers Sympathy Fun Fold card

 Today I have another card featuring the Country Flowers bundle by Stampin' Up!  I love these simple fun folds.  So quick and easy, yet just a little something special to let the recipient know you care.  I hope you give this one a try.  You can watch the video replay of how I put the card together, on my YouTube channel.


Measurements and Supplies:
Country Flowers bundle 163411 (includes stamps 163405 & coordinating dies 163410)*
Spotlight on Nature dies 163580 
Unbounded Love dies 163383 (can be purchased in a bundle with coordinating sentiment stamps 163884*)
Timber 3D embossing folder 156406
Basic Beige cardstock base 5 1/2" x 8 1/2", scored in center at 4 1/4"
Bubble Bath cardstock 2 1/2" x 5 1/4" & 4 x 4" for circle die
Basic White cardstock for images & sentiment label
Country Woods DSP, 4 x 5 1/4", emboss with Timber 3D, then cut 2 1/2" from left
Purple Fine Shimmer Gems 162611
Ink Pads: Bubble Bath, Petunia Pop, Pebbled Path & Versamark
Stampin' Blends markers: Bubble Bath, Fresh Freesia, Petunia Pop, Granny Apple Green, Lt Old Olive
Clear Embossing Powder
Embossing Additions Tool Kit
Heat Tool


Thanks so much for stopping by today!  I hope you are inspired to create something of your own.  To shop my online store for all your Stampin' Up! supplies, be sure to click the shopping cart in the upper right.  

Until next time; be happy, stay healthy and happy stamping!
Teresa

*Bundle pricing saves 10% over the combined prices of the individual pieces

Saturday, April 22, 2023

Petal Park Book Fold card with Irrestible Blooms dies

 Happy Saturday everyone.  Today’s project again features the Petal Park stamp and punch bundle along with the Irresistible Blooms bundle.  To see how I put this card together, you will need to watch both Part 1 and Part 2 of my replay video as I had some internet connectivity issues in the middle of this card during my live.  Part 2 starts where I am showing how to cut the sentiment tag.  Most of the card is finished by that point.  Sorry about that, you can access my video Part 1 here:  and Part 2 here:


Measurements and Supplies:
Petal Park stamp and punch bundle (available as a bundle through May 1, then available separately)
Irresistible Blooms stamp and die bundle (online only, not in any catalog)
Tailor Made Tags dies for sentiment piece
Basic White thick cardstock 4 1/4 x 11, scored at 5 1/2 and 6 3/4"
Tea Boutique Designer Series Paper, 4 3/8 x 4 3/8" and 1 1/8 x 4 3/8" pieces
    scrap for cutting inside decorative piece
Basic White cardstock 4 x 4", cut with Irresistible Blooms circle die
Basic White cardstock for inside layer 3 1/8" x 3 1/8"
Basic White scraps for stamping and cutting/punching
Lemon Lime Twist cardstock for inside layer 3 1/4 x 3 1/4"
Iridescent Pearls
Metallic Woven Ribbon, Tahitian Tide
Ink Pads: Blueberry Bushel, Tahitian Tide, Lemon Lime Twist and Parakeet Party

Thanks for stopping by today!  I hope you've been inspired to use this bundle if you have it.  If not, what are you waiting for, it makes great cards!  You can pick it up in my online store here:

Until next time; be happy, stay healthy and happy stamping!
Teresa


Saturday, June 11, 2022

Happy Forest Friends fun fold birthday card

 Today I have a cute fun fold card for you that will brighten up anyone’s birthday.  While it might look difficult, it really is very easy to put together.  I hope you will give it a try.  You can see how I put this card together over on my YouTube channel here:  

The first photo is how the card will look coming out of the envelope, it fits in a standard medium size envelope.

This next photo shows how the card will look as you open it up.
and finally, this last photo shows it fully opened.  You can see how much impact the card has!  I love this fun fold.

Supplies and measurements:  
Happier than Happy stamp and die bundle (Happy Forest Dies)
Celebrating You stamp set for sentiments only (you can use whatever you have on hand) 
Soft Suede cardstock 5 1/2 x 11", scored at 1 3/4, 3 1/2, 5 1/4 and 7".  With your 5 1/2" side at the top of the trimmer (scores closest to the top) with cardstock at 1 1/4", cut a slit from the first score mark at 1 3/4" down to the third score mark at 5 1/4".  Then flip card stock over, place in the trimmer again at 1 1/4" with the score lines nearest the top of the trimmer, and repeat by cutting from 1 3/4" down to 5 1/4" between the first and third score lines.  (see video link above)

Happy Forest Friends Designer Series Paper
2 pieces 1 1/2 x 5 1/4"
4 pieces 1 x 1 1/2"
1 piece 1/2 x 5"

Basic White card stock
1 1/2 x 2 3/4"
2 1/4 x 2 1/2"
3 1/2 x 5"

Mossy Meadow card stock
2 1/2 x 2 3/4"
3 3/4 x 5 1/4"

Ink pads in Mossy Meadow, Sahara Sand, Calypso Coral, Soft Suede and Old Olive
Wink of Stella glitter pen

Thank you for stopping by today.  To order Stampin' Up! supplies, click on the shopping cart in the upper right.  It will take you to my online store where you can shop 24/7.  I'd really appreciate your business.

Until next time; be happy, stay healthy and happy stamping!
Teresa

Thursday, May 12, 2022

Nature's Prints natural stamped wreath book fold card

Another week has flown on by and it's Thursday again!  Today's project is featuring the Nature's Prints bundle from the newly released Stampin' Up! 2022-2023 Annual Catalog.  You will find the suite of products on pages 90-91. You can watch how I put this card and one additional card, which will be posted on my blog on Saturday, here.  If you've been following me very long, you'll know how much I love a good wreath.  I was hanging out yesterday, when the idea for this card just popped into my head.  As I didn't have any grandkids to watch, I headed straight for my studio to put the image in my head down on paper.  I love how it turned out!


I kept the inside fairly simple.
Supplies and Measurements: 
Sun Prints Suite 158805 (includes Nature's Prints bundle 158801[Nature's Prints stamps 158793 and Natural Prints Dies 158800], Sun Prints DSP 158790 and Fern 3D embossing folder 158804
Friends are Like Seashells stamp set for coloring in flowers
Orchid Oasis card base 4 1/4 x 11, scored at 5 1/2 and 6 3/4"
2022-2024 In Color 6x6 DSP (1 sheet, cut in three pieces at 4 x4", 1 x 4" and 1/2 x 4")
3 3/4" square for outside panel and 4" square for inside panel of Basic White cardstock
Scrap Basic White for stamping and die cutting flowers.  
Scrap Parakeet Party for die cutting foliage pieces
2022-2024 Matte Decorative Dots
Orchid Oasis Woven Metallic Ribbon
Ink Pads in Gray Granite, Orchid Oasis, Garden Green and Sweet Sorbet
Stamperatus stamp positioning tool
Wreath Builder template (you can make your own by searching diy wreath builder template on YouTube or you can purchase one--I used Gina K. Designs Wreath Builder template)

Thank you for taking time from your busy day to stop by my blog!  Please leave me a comment, I'd love to hear from you.  If you would like to purchase any Stampin' Up! supplies, click the shopping cart in the upper right.  It will take you to my online store.  I would truly appreciate your business.

Until next time; be happy, stay healthy and happy stamping!
Teresa