Showing posts with label Scalloped Contour dies. Show all posts

Saturday, April 15, 2023

Sending Bright Wishes Eclectic Garden

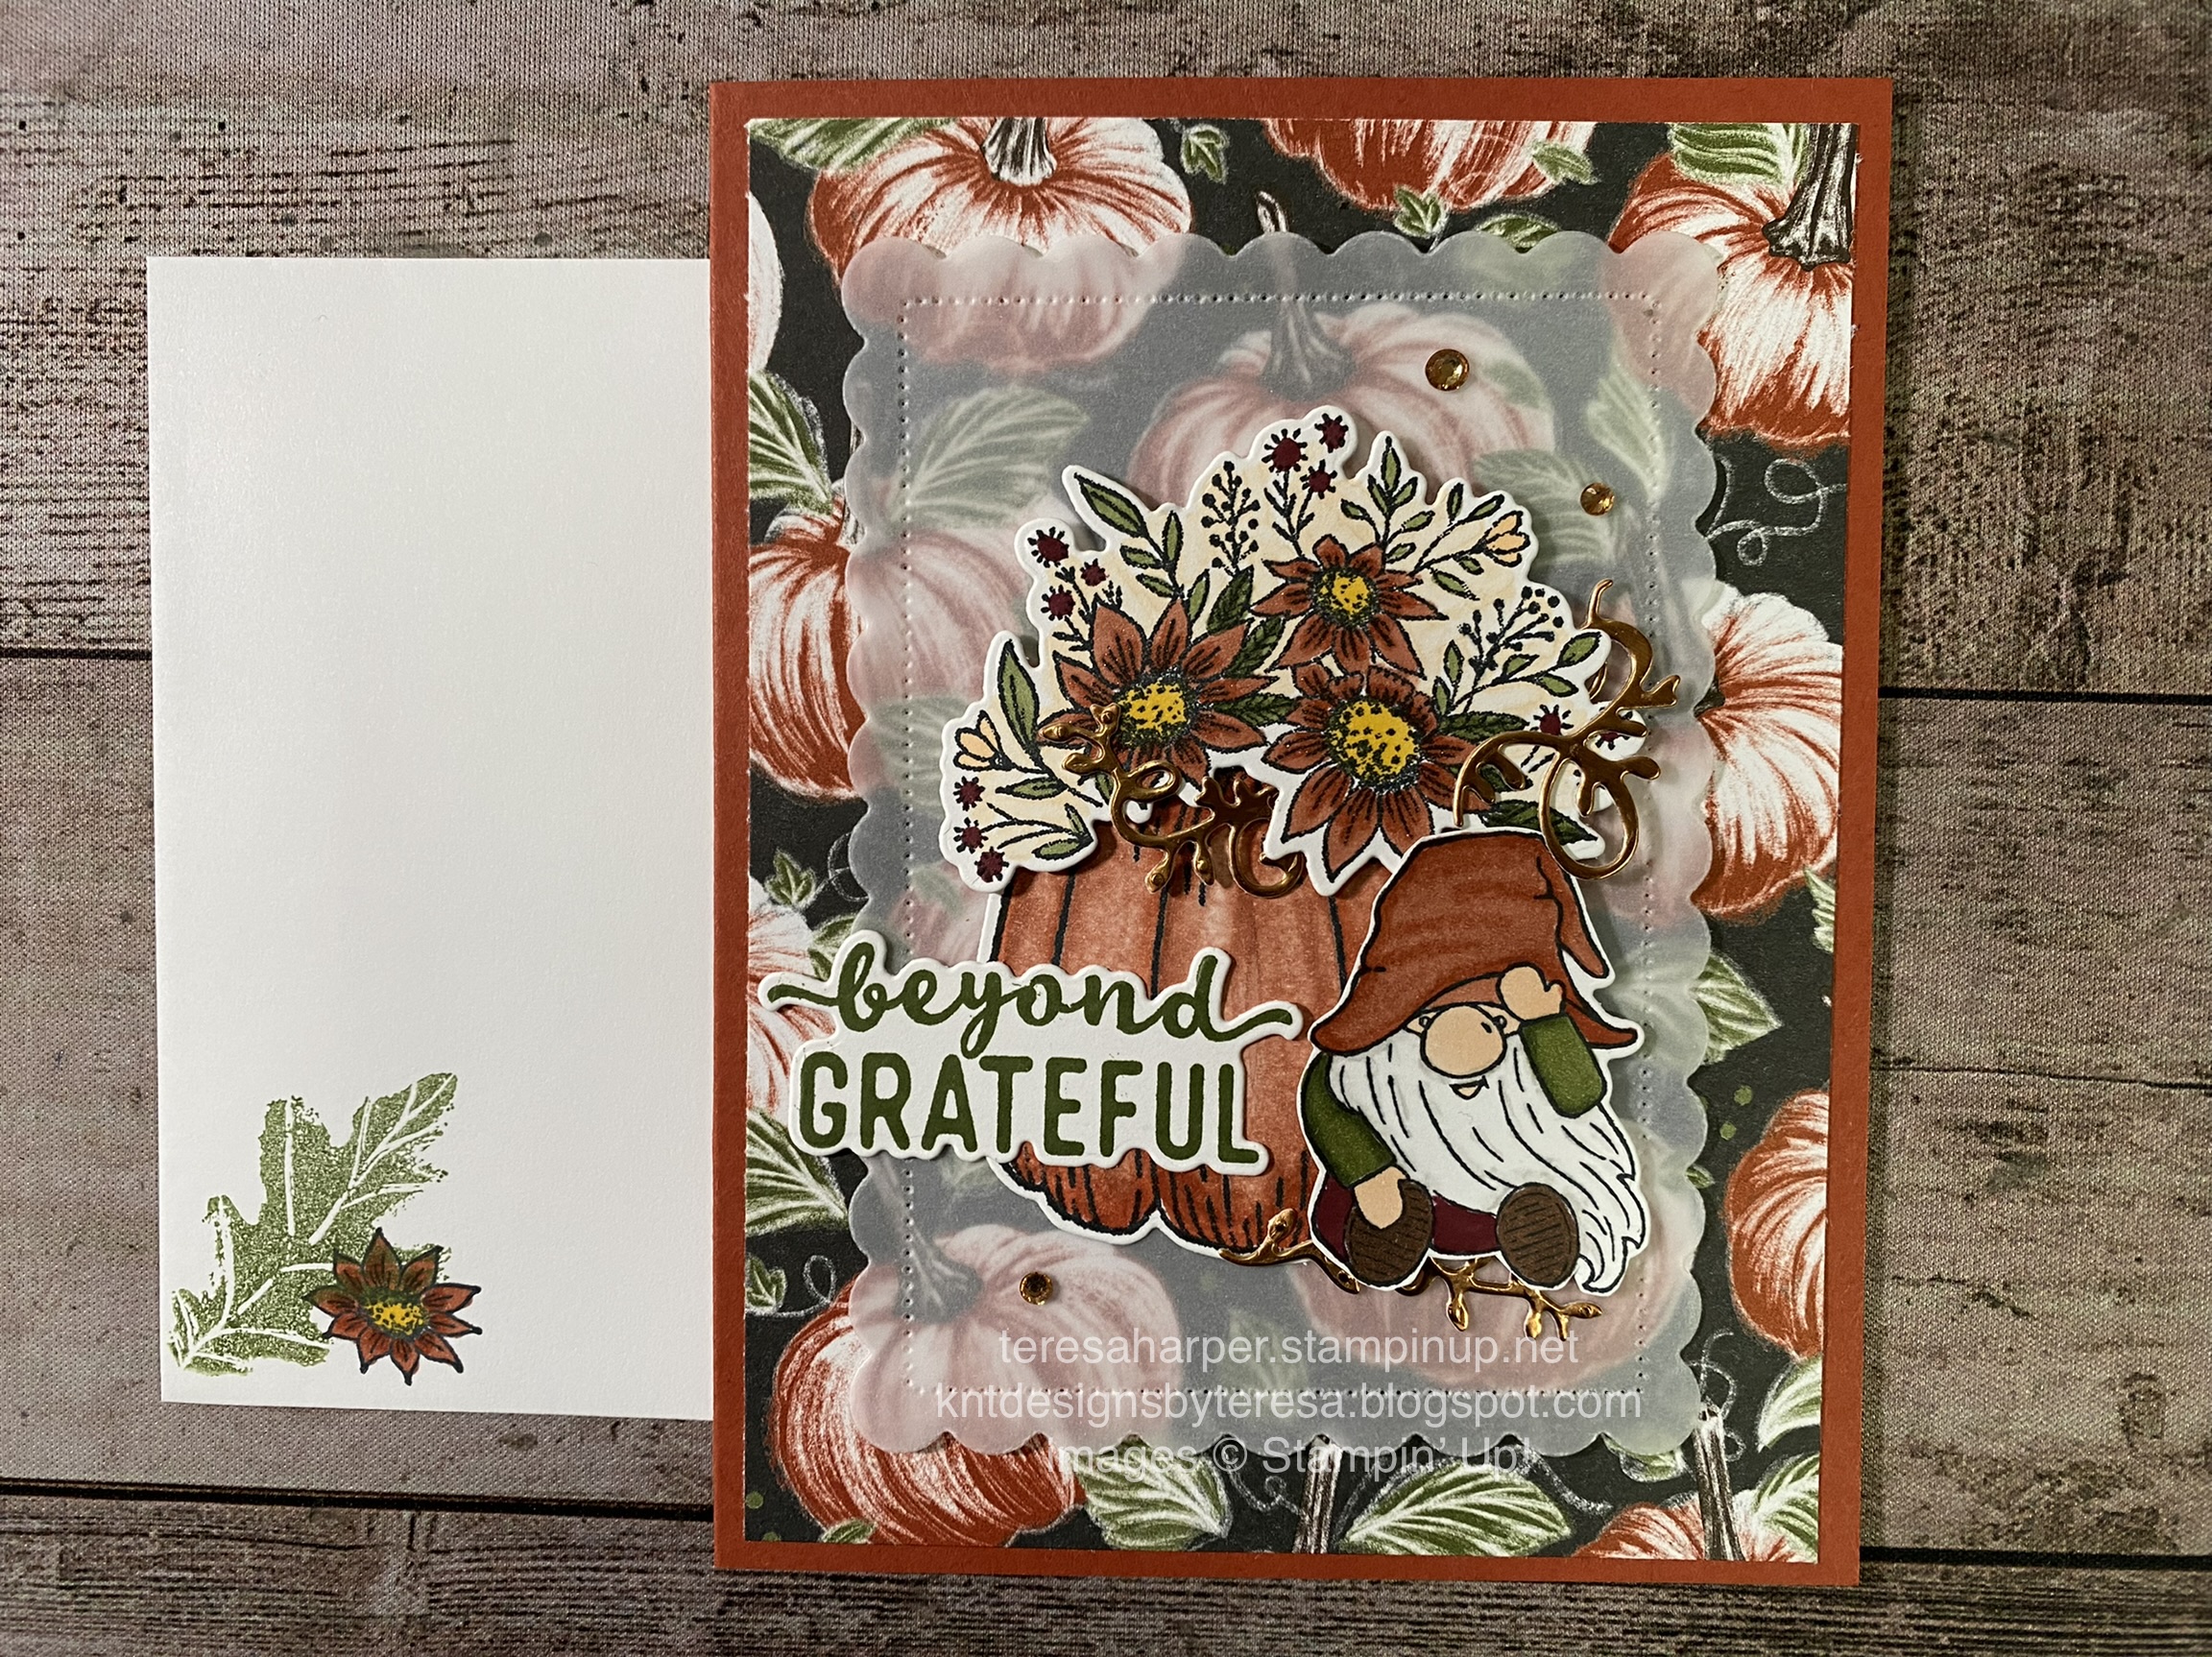
 My card today again features the stamp set Eclectic Garden by Stampin’ Up!  This stamp is current on the last chance list and marked down 60% to $9.60 while supplies last or May 1st.  I recommend you pick it up.  I had a lot of fun putting this card together and I love how it turned out.  Good for any occasion and can be either masculine or feminine.  Eclectic Garden is highly versatile!  To watch the video replay for this card, go to my YouTube channel here:


Measurements and Supplies:
Eclectic Garden Stamp set (currently 60% off while supplies last or May 1st)
Stitched Greenery Die (currently discounted to $19.20 while supplies last or May 1st)
Scalloped Contour Dies
Radiating Stitches Dies
Basic Borders dies
Basic White Thick cardstock, 5 1/2 x 8 1/2, scored in center at 4 1/4"
Evening Evergreen 4 x 5 1/4" (retiring May 1, 2023)
Soft Succulent cardstock (retiring May 1, 2023) 3 3/4 x 4 3/4 approximately
Basic White for stamping and fussy cutting image
Ink Pads: Balmy Blue, Pacific Point (retiring) and Memento Tuxedo Black
Stampin' Blends alcohol markers: Lt. Pale Papaya (retiring), Dk Soft Succulent (retiring), Lt. Evening Evergreen (retiring), Soft Suede (retiring), Color Lifter

**anything marked as retiring is while supplies last or 11:59 pm MT on May 1, 2023.

To shop my online store for Stampin' Up! supplies, click here for the last chance list through May 1, 2023: https://www.stampinup.com/categories/specials/last-chance-products?demoid=2109129 OR here if you are shopping on May 2, 2023 or later: https://www.stampinup.com?demoid=2109129

Until next time; be happy, stay healthy and happy stamping!
Teresa


Saturday, March 11, 2023

Easter Bunny for a Cup of Tea and cookie treat box

 Here we are on another Saturday morning.  I’m currently at an all-day stamping event with my friends.  What a great day for a Cup of Tea and cookies!  I have the perfect way to treat your friends to that.  Today’s project is a tea, cookie and chocolate box I designed as an Easter gift.  However, you could adapt this box for any occasion all year long.  I hope you try them.  To see the video replay of how I put this box together, be sure to hop on over to my YouTube channel HERE:


Measurements and Supplies:
Easter Bunny stamp set
Cup of Tea bundle (includes stamp set and Tea Cup dies)
Cane Weave 3D embossing folder
Scalloped Contour dies
Dandy Designs Designer Series Paper
    4 3/8 x 2 5/8 and 2 x 7/8"
Starry Sky cardstock 7 x 8"
    Score on 7" side at 1, 5 1/2 and 6 1/2
    Score on 8" side at 1, 3 3/4, 4 3/4 and 7 1/2"
Basic White cardstock
    cut 3rd largest scalloped rectrangle
    scrap for stamping and die cutting images
Fresh Freesia cardstock
    2 x 3 15/16" (emboss with Cane Weave EF)
Ink Pads in Starry Sky and Memento Tuxedo Black
Stampin' Blends alcohol markers:
    Sweet Sorbet, Crumb Cake, Petal Pink, Granny Apple Green, Orchid Oasis, Starry Sky, Daffodil Delight, Tahitian Tide, and Fresh Freesia
Iridescent Pearls

Thank you for taking time from your busy day to stop by my blog.  I do so appreciate it.  To order Stampin' Up! supplies from my online store, click on the shopping cart in the upper right.  Thank you so much!  It really means a lot to me.

Until next time; be happy, stay healthy and happy stamping!
Teresa


Thursday, January 26, 2023

Life is Sweeter Gate Fold card using Share A Milkshake

 Today's card is a sweet project!  I love the new Share A Milkshake bundle from Stampin' Up!  It makes such fun cards that anyone would love to receive.  It also features one of my favorite color combinations in pinks and browns.  To see how I put this project together, head on over to my YouTube channel and watch the video replay HERE:


Measurements and Supplies:
Scalloped Contour dies
Favored Flowers Designer Series Paper (Sale a-bration gift choice with $50 purchase thru Feb. 2023)
Share A Milkshake bundle (stamps and dies)
Happy Labels Pick a Punch (sentiment strip)
Cane Weave 3D embossing folder
Soft Suede cardstock (cs) 5 1/2 x 8 1/2, scored at 2 1/2 and 6 3/4"
Basic White for stamping and die cutting
Basic White sentiment strip 7/8 x 2 3/4, punched on each end with the Happy Labels Pick a Punch
Basic White inside layer 2 5/8 x 3 15/16"
Ink Pads: Petal Pink, Early Espresso, Soft Suede, Polished Pink and Real Red
Stampin' Write Marker, Soft Suede
Pastel Adhesive Backed Sequins
Wink of Stella Glitter Brush

Thanks so much for stopping by today.  Please leave me a comment, I'd love to hear from you.  If you would like to support my small business by shopping in my online Stampin' Up! store, click on the shopping cart in the upper right.  I would so appreciate it.  

Until next time; be happy, stay healthy and happy stamping!
Teresa

Thursday, October 27, 2022

Beyond Grateful Gnome Hello Harvest card

Hello and thank you for stopping by my blog today!  I appreciate your time and interest.  Today’s project is my final Autumn card for the season.  I’ve used Hello Harvest along with the Kindest Gnomes to create this beautiful card you could send for Thanksgiving or just as a thank you to someone.  To watch how I put this card together, you can watch the replay over on my YouTube channel HERE:


Measurements and Supplies:
Hello Harvest Bundle (includes Rustic Pumpkin dies)
Kindest Gnomes bundle (includes Gnome dies)
Charming Sentiments bundle (includes Sentiment Silhouettes dies)
Scalloped Contours dies
Wink of Stella clear glitter pen
Champagne Rhinestones
Cajun Craze cs 5 1/2 x 8 1/2", scored in the middle at 4 1/4" 
Basic White cs 3 3/4 x 5 1/2" for stamping and die cutting images
Basic White cs for inside layer 3 5/8 x 4 7/8"
Cardstock Vellum 3 1/2 x 4 3/4" for die cutting scalloped rectangle
Autumn Harvest DSP (pattern paper) 4 x 5 1/4" & 1/2 x 4 7/8"
Scrap of Copper Foil sheets  approx 2 x 1 5/8"  
Ink pads in Mossy Meadow and Memento Tuxedo Black
Stampin' Blends alcohol markers: Pale Papaya, Cajun Craze, Mossy Meadow, Natural Tones Deep (SU 200) and Light (SU 900), Lt. Gray Granite, Dk Daffodil Delight, Color Lifter
Stampin' Write marker in Merry Merlot

To shop my online store for Stampin' Up! supplies, please click on the shopping cart in the upper right corner.  I would be every so grateful for your business.  Please leave me a comment.  

Until next time; be happy, stay healthy and happy stamping!
Teresa

Thursday, September 8, 2022

Get Yeti to Party in Polished Pink

 Happy first week of school!  My oldest granddaughter is a senior this year.  I can hardly believe it's already here!  What happened to the time?  With the coming of school, begins the busy season for me as the chief carpool driver.  

Anyway, let's get on to our project for today.  This week I am featuring the Yeti to Party stamp set and coordinating Yeti dies.  These are part of the Perfect Partners promotion Stampin' Up! is offering in September, 2022.  Six die sets and bundles have been added to already existing stamp sets.  But hurry, these are only this month AND only while supplies of the dies last.  You can watch how I put my card together and how unique some of these Yeti dies are by watching the FB Live replay over on my YouTube channel by clicking HERE:  Be sure to watch until the end so you can see the bonus cards I made with this bundle!  I had so much fun with it and you will see just how versatile it can be.


Measurements and Supplies:

Whimsical Trees 3D Embossing Folder
Wildlife Wonder (optional for shadow under Yeti)
Yet to Party stamp set 159826, Yeti Dies 160253 or Bundle for 10% savings, 162529 (Only during 9/2022 or while supplies last!  Hurry and get yours today by clicking on the shopping cart in the upper right corner.
Polished Pink cardstock 5 1/2 x 8 1/2", scored at 4 1/4"
Two (2) Basic White cardstock pieces cut with the 2nd largest rectangle Scalloped Contour die
Scraps of Thick Basic White cardstock for stamping and die cutting images
Stampin' Blends alcohol markers: Polished Pink, Pool Party, Lt. Crumb Cake, Lt. Soft Suede, Pale Papaya, Balmy Blue, Calypso Coral, Lt. Natural Tones SU 1000, Color Lifter
Stamp pads: Sahara Sand, Polished Pink, Momento Tuxedo Black
Stampin' Cut & Emboss machine
2021-2023 In Color Opal Rounds

Thank you for stopping by today!  Please leave me a comment.  I'd love to hear from you.
Until next time; be happy, stay healthy and happy stamping!
Teresa


Saturday, April 23, 2022

Bottled Happiness black magic technique

 The project I have for you today is the second of the projects made during my weekly Tuesday Night live tutorial.  It features a sneak peek from the upcoming Stampin’ Up! 2022-23 Annual Catalog releasing to customers on May 3.  It is available to demonstrators now during the preorder period and can be added to a starter kit when you join my team today.  For more info on how to join click here https://teresaharper.stampinup.net/join_now

Today’s featured stamp set is A sneak peek of the Bottled Happiness stamp set.  It can be purchased in  bundle with it’s coordinating Vintage Bottle punch to save 10%.  It will be available beginning May 3, 2022.  You can watch how I put this card together on my YouTube channel here:  https://youtu.be/H1pN01CJnC8 

I love how the black magic technique makes this floral image pop!  It's really very easy and I forget how stunning it looks when done.  
Supplies and Measurements:
Polished Pink cardstock 5 1/2 x 8 1/2, scored at 4 1/4" for card base.
Pattern Party Designer Series Paper (last chance list while supplies list, host reward) 
    3/4" x 3 5/8" and 3 3/4" x 5"
Basic White card stock die cut with 2nd largest Scalloped Contour die 
Basic White card stock for inside layer 3 5/8 x 4 7/8"
Basic Black cardstock for stamping and fussy cutting approximately 3 1/2 x 4
Versamark ink pad
White embossing powder (Part of the Basics Embossing Powders 155554)
Stampin' Blends markers in Pale Papaya, Pool Party, Granny Apple Green, Polished Pink and Fresh Freesia
Granny Apple Green Classic ink pad
Brushed Brass Butterflies
Black and White Gingham Ribbon
Rectangular Postage Punch
Stamperatus stamp positioning tool (highly recommended!)
Bottled Happiness stamp set (purchase as a bundle along with the Vintage Bottle punch to save 10%)

Thanks for stopping by my blog today!  It's very much appreciated.  Be sure to leave me a comment.  If you would like to purchase any of the products I've used today, head on over to my online store by clicking on the shopping cart in the upper right corner.  I thank you in advance for your order.  

Until next time; be happy, stay healthy and happy stamping!
Teresa

Monday, December 6, 2021

Snowmen Peppermint Bark treat box with Penguin Place

 Hello everyone!  Today is Project 6 of the 12 Projects of Christmas.  I have a special treat box for you today.  When I designed this box I did so with the Ghirardelli Peppermint Bark Snowmen.  I tried to recreate the snowman on the package and use the Penguin Place bundle.  I was inspired by a video I watched on how to use the Penguin Builder Punch to make a snowman.  I loved it and knew I had to make one of my own.  The Ghirardelli Peppermint Bark Snowmen seemed the perfect pairing for my project.  I hope you love it as much as I do.  I'm thinking these will make some really nice teacher gifts, coworker gifts and the box is plenty big enough to drop a gift card inside!  You can see how I created this box by watching the FB live replay on YouTube by clicking here: https://youtu.be/rzT0rkzErpE 


Measurements and supplies:
Real Red cardstock 5 1/4 x 4", scored on all four sides at 1/2"
Real Red cardstock 5 5/16 x 4 1/16, scored on all four sides at 1/2"  Punch finger holes with a 1/2" circle punch on the long sides.
Pattern Party Designer Series Paper (DSP) 4 1/8 x 2 7/8"
Basic White approximately 3 7/8 x 2 5/8--diecut with 3rd largest Scalloped Contour die
Scraps of Basic White for punching and stamping large enough to punch Penguin and stamp scarf
Real Red scrap to punch hat for snowman
Scrap Heartwarming Hugs DSP for hat band
Scrap of Pumpkin Pie for the snowman nose
Inks in Evening Evergreen, Real Red, Smokey Slate and Momento Tuxedo Black
Gingham Ribbon
Wink of Stella
Penguin Place stamp set
Penguin Builder Punch
Snowman Builder Punch for nose
Black fine line marker

Thanks for stopping by my blog!  I appreciate you taking time from your busy life to spend it with me.  If you would like to purchase any of the supplies I've used today, please click on the shopping cart in the upper right corner.  I would love to be your Stampin' Up demonstrator if you don't already have one.  Please leave me a comment, I'd love to hear from you.

Until next time; be happy, stay healthy and happy stamping!
Teresa

Saturday, December 4, 2021

Classic Cloche Village Project 4 of the 12 Projects of Christmas

 It’s Project 4 of the 12 Projects of Christmas today and we are using the Classic Cloche stamp set and  Cloche dies you Stampin’ Up!  (on sale while supplies last for $14.50).  I do so hope you are enjoying these projects as much as I am.  As a quick reminder check out the last chance sale and the clearance rack in my online store.  Click on the shopping cart in the upper right corner.

You can watch the FB Live replay over on YouTube here https://youtu.be/nqAsa68-22c  to see how I made these cards.


Supplies and measurements:
Card base for standard A2 in Soft Succulent 5 1/2 x 8 1/2”
Card base for gift card holder in Soft Succulent 5 1/2 x 9 scored at 3 1/4 & 7 1/2”
3rd largest stitched rectangle in Basic White
Ever Eden Designer Series Paper 2 11/16 x 1/2” // 1 5/8 x 5 3/8 (if making gift card holder card base)// 3 3/8 x a hair less than 4 11/16
Evening Evergreen cardstock cut with largest scalloped contour die
Soft suede cardstock 5/16 x 2 3/4
Gold 6x6 specialty cardstock to diecut cloche base.  Use an adhesive sheet on back prior to die cutting.
Stamp pads in Smokey slate, basic gray, Sahara sand, Cherry cobbler and pool party
Thank you for taking time out of your day to spend it with me.  Leave me a comment, I’d love to hear from you.  To order supplies, click on the shopping cart.  I’d really appreciate your business.

Until next time; be happy, stay healthy and happy stamping!
Teresa

Thursday, November 18, 2021

Seasons of Fun tree hunt

 Wow!  What a busy past several days it’s been here at the Harper house.  With OnStage @Home, putting up Christmas lights, putting together lawn ornaments and watching the smallest grandchild, it’s been very busy!  We decided to get the lights up as Sunday afternoon it was a very warm day here in Oregon, short sleeve weather in Mid-November with no rain is rare.  Don’t worry, the dry didn’t last!  It poured on Monday morning while we were out buying a couple of additions to our decorations. 

Now onto the crafting!  Today’s project features Seasons of Fun host stamp set by Stampin’ Up! It has three main images in the set which cover Halloween, Fall and Christmas.  It is an image only set so you can use any sentiment from your craft stash.   You can earn it for free with a $150 individual or group purchase and use your Stampin’ Rewards dollars to purchase it.  I just love this image.  It reminds me of my granddaughter Abigail.  The image is stamped on Basic White which has been die cut with the Stitched So Sweetly Dies.  I stamped and colored the image, then masked it with a post it note and added in the background trees which come from Peaceful Deer, but you could use any small tree stamps you have on hand.  The trees are stamped in Evening Evergreen with Soft Suede for the trunks.  It’s mounted on Evening Evergreen die cut using the Scalloped Contour dies and added to a piece of Tidings of Christmas Designer Series Paper 4x5 1/4”.  The card base is Soft Succulent 5 1/2 x 8 1/4”.  You can watch the video here https://youtu.be/4TGezNhggjA
These are the Stampin’ Blends I used to color my image with.


Here is the inside of the card.  The sentiment comes from Inspired Thoughts, which is all-around versatile set for any occasion.  I used the largest scallop rectangle from Stitched So Sweetly and mounted it on Evening Evergreen 3 3/4 x 5.
Thanks for stopping by my blog today!  I appreciate you taking time from your busy day.  To purchase any Stampin’ Up! Supplies, click on the shopping cart in the upper right corner.  It will take you to my online store where you can shop 24/7.  I would love to earn your business.

Until next time; be happy, stay healthy, and happy stamping!
Teresa

P.S. in case you’re wondering, these are the new lawn ornaments assembled inside, waiting for a dry period to put out.


Saturday, October 30, 2021

Warm winter wishes with Snowbody Better

 Here it is Saturday already!  I have another project for you today I made during my weekly Tuesday night live over on Facebook.  I would love it if you followed me there.  I usually make two projects every Tuesday evening live at 7:45 pm PDT.  You can always watch the replay over on my YouTube page at Teresa Harper kntdesignsbyTeresa.  

I started this project by stamping and coloring the snowman image in Momento Tuxedo black ink as I colored with Stampin’ Blends markers which are alcohol based.  I then fussy cut out the image with my paper snips.  I die cut a piece of basic white cardstock using the second largest Scalloped Contour die.  To this I stamped the snowflake image from Welcoming Woods stamp set in Versamark ink randomly on the top 2/3 of the die cut, added white embossing powder and heat set the powder.  Next, I used a blending brush and Misty Moonlight ink to add a little color to the “sky”.  I then began building my card layers.  To the Night of Navy cardbase, I added a piece of Beauty of the Earth Designer Series Paper, then added my scalloped die cut.  The snowmen were then added to the scalloped die cut using Stampin’ Dimensionals to give added depth.  The sentiment piece is stamped in Night of Navy ink on Misty Moonlight cardstock, then clear embossing powder was immediately added and heat set.  It must be done very fast as our classic ink dries quickly so you need to have all your supplies open and ready to go.). The sentiment was then cut out with a die from Beautiful Trees dies.  Finally, I added some white gems from Elegent Gems.   


Supplies used:
Beauty of the Earth Designer Series Paper 4 x 5 1/4”
Night of Navy cardstock 5 1/2 x 8 1/2”
Basic White Cardstock, half sheet for stamping and die cutting 
Misty Moonlight cardstock scrap for sentiment
Stampin’ Blends in Misty Moonlight light, Balmy Blue light, Flirty Flamingo, Fresh Freesia, Evening Evergreen and Soft Succulent
Blending Brush
ink pads in Momento Tuxedo black, Versamark clear and Night of Navy
White and clear embossing powders
Scalloped Contour Dies
Snowbody Better stamp set
Welcoming Woods stamp set

Thanks for stopping by my blog today.  Please leave me a comment to let me know your thoughts.  If you would like to purchase any of the products I’ve used, please click on the shopping cart in the upper right corner.  It will take you directly to my online store where you can shop 24/7.  I would really appreciate your business.

Until next time, happy stamping!
Teresa