Showing posts with label watercolor. Show all posts

Wednesday, October 8, 2025

Watercolor Pencil Rustic Centerpiece Christmas Fun Fold

I've created a gate fold slider card using the beautiful wood display piece from Rustic Centerpiece.  I just love how organic this centerpiece image is.  I've used a couple of different techniques to create the look and I encourage you to watch my YouTube video tutorial to see how it's put together.  


Measurements and Supplies:
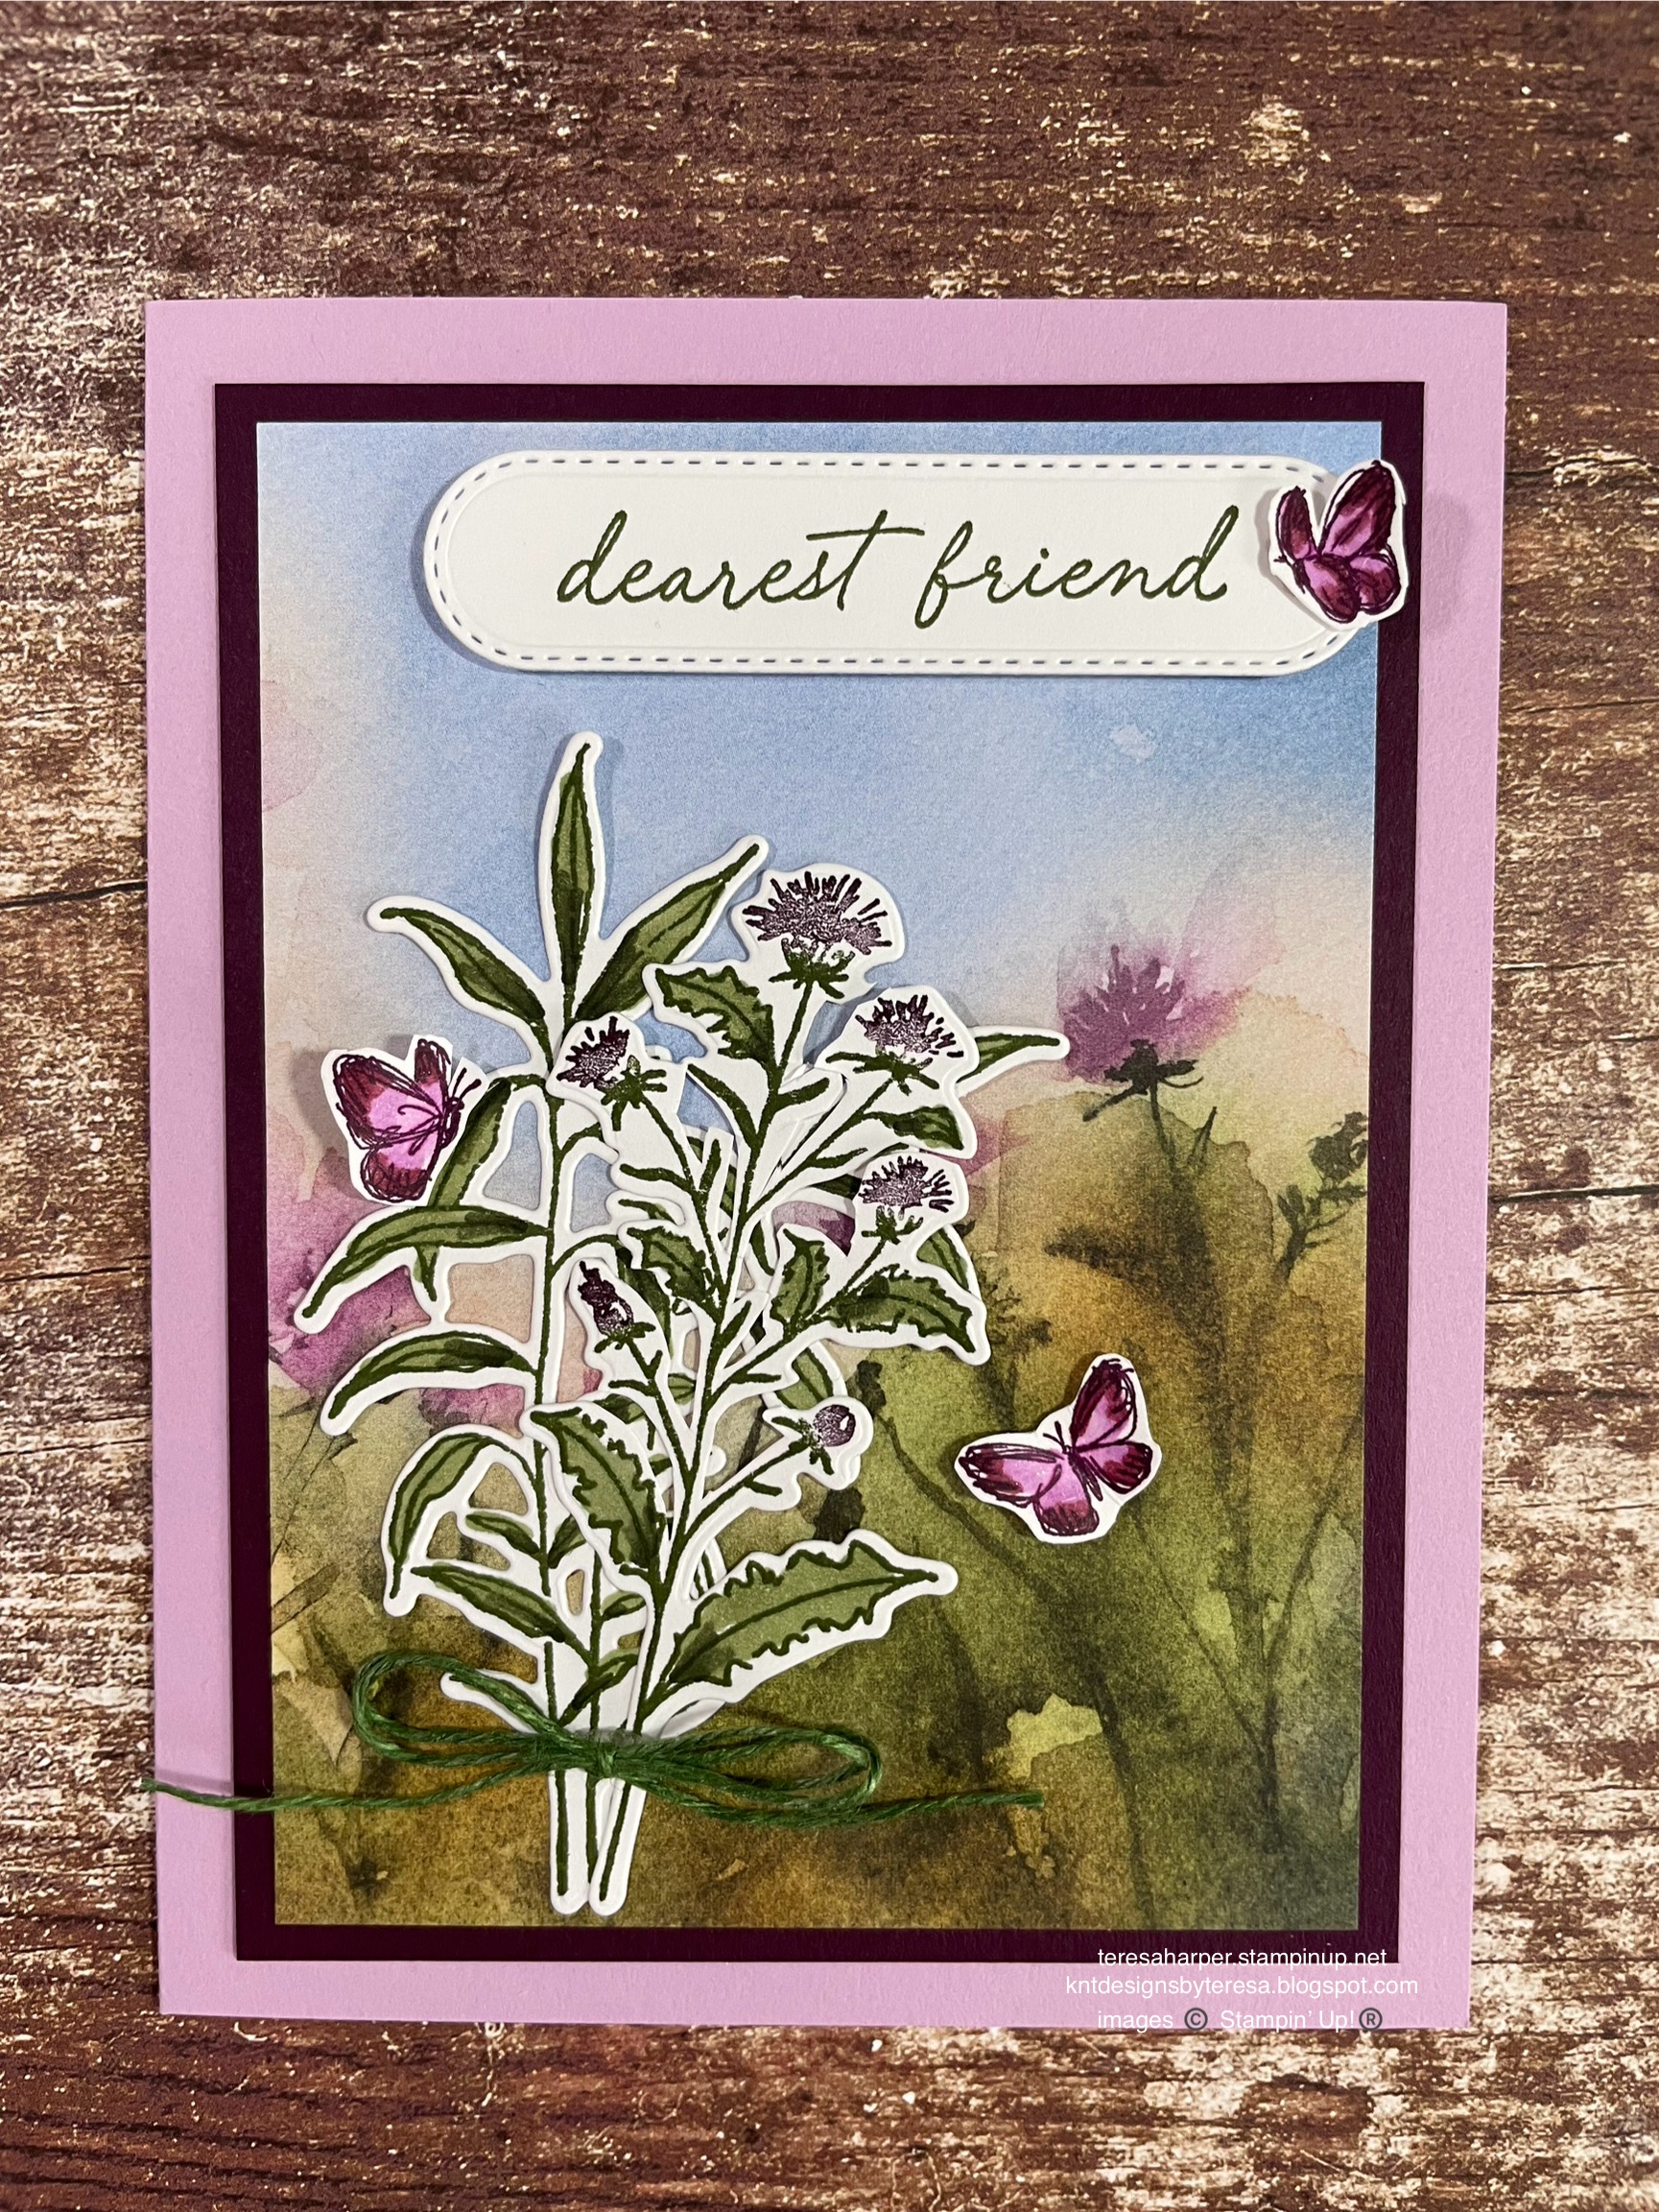
Words For the Season stamp set 165716 (inside sentiment) (can be purchased with word dies in a bundle*)
Branching Out Dies 165775 (2nd & 3rd largest shapes)
Stylish Shapes dies 159183 (long skinny banner tag)
Watercolor Pencils (Assortments 1 & 2) 161700 & 14904
Iridescent Faceted Gems 163368 (discounted in last chance category while supplies last)
Cherry Cobbler cardstock for card base, 5 1/2" x 8 1/2", scored at 2 1/8" each end of long side
Basic White cardstock for stamping image & sentiment
Basic White cardstock 4" x 5 1/4" for inside layer
    2 pieces 1 7/8" x 5 1/4", 1 piece cut from 3rd largest shape die & 1 piece 2 1/4" x 6" for envelope flap
Traditions of Christmas DSP, 165853, (2) pieces each 1 7/8" x 5 1/4"
    2 pieces cut with 2nd largest shape die & two pieces 3" x 3 1/4", scored on 3" side at 1 1/2"
Water Painter or paint brush with minimal water 168253
Ink Pads: Pool Party, Cherry Cobbler & Memento Tuxedo Black

Thanks so much for stopping by today!  I truly appreciate you spending time with me.  You will find all the supplies I've used today in my online store by clicking on the shopping cart in the upper right. 

Until next time; be happy, good health to you and happy stamping!
Teresa 

*Purchasing bundles saves 10% over the individual piece prices when combined.  You must use the bundle item code for the 10% bundle discount.  When purchasing Last Chance items; be sure to check if the individual piece prices are discounted.  Individual piece prices could be less expensive if the discounts are deep enough.

Wednesday, April 9, 2025

Watercolor pencil techniques with Spotlight on Nature

 Hello all, today is a card using some techniques I recently learned from Tina Zinck of Canada on how to color with watercolor pencils.  I am taking a class she offered and have already learned a lot and I've barely started.  So much fun and the pencils are really versatile in their different uses.  To see how I've colored my images and how I put the card together, be sure to watch the YouTube replay on my channel.


Measurements and Supplies: 
Spotlight on Nature bundle 163581* (includes stamps 163579 & dies 163580)
Exposed Brick 3D Embossing Folder, 161600
Beautiful Bokeh 6x6 Designer Series Paper 164607, 
    3 7/8" x 5 1/8"
Fresh Freesia cardstock, 5 1/2" x 8 1/2", scored in center at 4 1/4"
Basic Black cardstock 4" x 5 1/4" & 5/8" x 2 5/8" for sentiment (approx)
Daffodil Delight cardstock, 2" x 5 1/2"
Thick Basic White for stamping
Basic White for die cutting & inside layer 3 5/8" x 4 7/8"
Iridescent Pearls Basics 158987
Ink: Stazon Black, VersaMark watermark ink
Basics WOW! Embossing Powder 165679 (White)
Watercolor pencils, Fresh Freesia, Daffodil Delight, Melon Mambo, Granny Apple Green, Calypso Coral (Assortment 1 & 2) 161700 & 149014 
Wink of Stella Glitter brush 141897
Water Painter or fine paint brush
paper towel or rag

I hope you are inspired to get out those watercolor pencils and give these techniques a try.  They are so much fun and you can get such different results using the same pencil.  To purchase your watercolor pencils and/or Stampin' Up! supplies, click on the shopping cart to the right.  I'd be ever so grateful to earn your business.  Thanks in advance!

Until next time; be happy, stay healthy and happy stamping!
Teresa

*Purchasing bundles saves 10% over the individual piece prices when combined.  You must use the bundle item code for the 10% bundle discount.  When purchasing Last Chance items; be sure to check if the individual piece prices are discounted.  Individual piece prices could be less expensive if the discounts are deep enough.

Saturday, July 20, 2024

Thoughtful Wishes Dearest Friend

 For my card today, I've paired the featured Thoughtful Wishes bundle with some small butterflies from the Sketched Butterflies bundle.  I also used Designer Series Paper to do some of the heavy lifting with this card.  With DSP this beautiful, it's so easy to do.  To see how I put this card together, be sure to check out the video replay over on YouTube.


Supplies and Measurements:
Thoughtful Wishes bundle 163314 (includes stamps 163305 & dies 163313)*
Sketched Butterflies stamp set 163490 (can be purchased in a stamp/die bundle 163492)
Changing Leaves Hybrid Embossing Folder 164138 (Can be purchased with the coordinating stamp set in a bundle 164139) * (sentiment label only)
Thoughtful Journey Designer Series Paper 163303
    3 1/2" x 4 3/4" & inside scrap 3/4" x 3 5/8"
Fresh Freesia cardstock for card base, 5 1/2" x 8 1/2", scored in center at 4 1/4"
Blackberry Bliss cardstock 3 3/4" x 5"
Basic White for stamping and die cutting & inside layer 3 5/8" x 4 7/8"
Ink Pads: Mossy Meadow, Blackberry Bliss
Stampin' Blends alcohol markers: Fresh Freesia, Blackberry Bliss & Mossy Meadow
Stampin' Write marker in Blackberry Bliss
Blender Pens 102845
Natural Tones Linen Thread 164071 (Sneak Peek of upcoming product available in September)
Wink of Stella glitter brush 141897
Medium Basic White Envelopes 159236

I hope you liked my card today and were inspired to make a card of your own.  By making and sending cards, we can bring a little joy to someone and possibly be the brightest spot in their day.  

Until next time; be happy, stay healthy and happy stamping!
Teresa

*purchasing bundles saves 10% over the individual piece prices when combined.  You must use the bundle item code for the 10% bundle discount.

Wednesday, November 1, 2023

Magical Meadows Winter Wishes with watercoloring

 Now that Halloween is past, it’s time to get moving on to all things wintery.  I’m starting off using Magical Meadows which can be used for multiple occasions, not just the holidays.  This layout is inspired by one used during the World Cardmaking Day event put on by Stampin’ Up!  I didn’t have one of the sets used, so I substituted this bundle along with the Nested Essentials dies to create this card.  If you would like to see how I achieved this look, watch the video replay on my YouTube channel HERE:


Measurements and supplies:
Magical Meadows bundle 162144 (includes stamps 162134 & dies 162143)
Nested Essentials dies 161597
Bakers Twine Essential pack 155475
Fluid 100 Watercolor Paper 149612
Blueberry Bushel cardstock, 5 1/2" x 8 1/2", scored in center at 4 1/4"
Basic White for inside layer 3 5/8" x 4 7/8", & piece for die cutting
Ink Pads: Lemon Lime Twist, Garden Green, Balmy Blue, Blueberry Bushel, Berry Burst
Water Painters 151298

Thanks so much for stopping by today.  I really appreciate it.  To order your Stampin' Up! supplies, click on the shopping cart in the upper right.  It will take you to my online store where you can shop 24/7.  I'd be so grateful for your business.

Until next time; be happy, stay healthy and happy stamping!
Teresa


Thursday, August 31, 2023

Autumn Leaves 1/2 sheet fold over flap treat box

 Geez, I’m so ready for fall, anyone else.  It’s been a good summer, but with almost no rain here in Oregon where I’m at this season.  This week, it’s a bit cooler and feels a little more like fall and we have a small bit of rain.  We are still in a drought, but rain is in the forecast for today.  I’ve been playing with the All About Autumn suite of products from the September-December 2023 Stampin’ Up! mini catalog releasing to the public next week on September 6.  Fall is my favorite season and I love anything leaves so this suite spoke to my heart and I had to get it to share with all of you.  

My first project this week uses a new-to-me watercolor technique that is quick and super easy.  Be sure to watch the video replay over on my YouTube channel HERE to see how I watercolored my leaves.  The treat box is a resized version of a box from Angie at ChicnScratch.  I liked how the box looked, but wanted to be able to get two out of a sheet of cardstock, so I resized it to fit.  I generally make 10 or so boxes when I make them so it’s preferable for me to have a smaller size economically.  The finished box size is 2 1/2 x 2 3/4 x 1” so it is a good size and will hold plenty of treats or a small gift.  


Measurements and Supplies:
Autumn Leaves bundle 162186 (stamps 162179 & dies 162185) available September 6, 2023.
Deckled Circles dies 162286 available September 6, 2023.
Cracker and Treat Box dies 159182 (for small tag)
Rustic Crate stamps 162265 (for sentiment only) available September 6, 2023.
Layering Leaves stamp set (for speckles on circle only) 161277
Copper & Natural Ribbon combo pack 162192, available September 6, 2023.
Fluid 100 Watercolor paper
Oxidized Copper Specialty Paper 162190, available September 6, 2023.
Inked Botanicals DSP, 161157, 2 5/8" x 2 3/8" Portrait orientation
Brushed Metallic Dots 156506 (I used Copper although I put them on after taking the photo.  Oops!)
Ink Pads: Pretty Peacock, Moody Mauve, Cajun Craze, Pumpkin Pie, Crushed Curry, Wild Wheat & Copper Clay)
Silicone Craft Sheet 127853
Stampin' Spritzers 126185, fill one with water.
Pretty Peacock cardstock 5 1/2 x 8 1/2"
    Score on 8 1/2" side at 1, 2, 4 3/4 & 5 3/4"
    Score on 5 1/2" side at 4 & 5 " , rotate 180 degrees and score again at 4 & 5"
Crushed Curry cardstock scrap for tag
Very Vanilla cardstock scrap for deckled circle

Thank you for stopping by today.  I hope you are inspired to make some of these for your friends and/or family.  If you do, be sure to hop on over to my Facebook social group (1) KnT Designs Stampers Group Social | Facebook and post a photo so we can all admire your work.  

Until next time; be happy, stay healthy and & happy stamping!
Teresa

Thursday, January 20, 2022

Blessings of Home Happy Mom's Day card with watercolor pencils

 When I started today's project, I thought it was time to pull out some of my old favorites which I haven't used in quite a while.  I love my Stampin' Blends markers and I tend to use them exclusively when I'm coloring stamped images.  For this card, I decided it was time to pull out my watercolor pencil assortments and get to work coloring the image.  I do love the effect and ease that watercolor pencils provide.  In addition, you get a lot of different colors for a much lower price point than the alcohol markers.  So if you're looking for a fun coloring technique, these could be your new favorite.  To see how I colored and put this card together, you can watch my YouTube video here: https://youtu.be/ukK2hPyfgSk 


For the inside of my card I used the newly released Happy and Heartfelt stamp set from the Jan-June 2022 mini catalog.  It's stamped in Early Espresso and the heart is colored in melon mambo.  


Supplies and measurements:
Watercolor Pencils Assortment 1 and 2: Old Olive, Garden Green, Melon Mambo, Calypso Coral, Night of Navy, Crushed Curry, Daffodil Delight, Cajun Crze, Early Espresso.
Blender Pen (NOT Stampin' Blends)
Ink Pads:  Stazon Black ink pad, Early Espresso Classic Ink
Cardstock:
Early Espresso for base 5 1/2 x 8 1/2"
Melon Mambo for base layer 4 x 5 1/4"
Thick Basic White 3 1/5 x 5 (will cut the large flower shape out of this)
Basic White card stock for inside 3 5/8x 4 7/8"
Shimmery White cardstock for stamping and die cutting 5 1/2" x 6" approximately
Pattern Paper: Taste of Home Designer Series Paper 3 7/8 x 5 1/8"  
Honeybee Blooms dies (optional, I used for inside grass die cut but you could just as easily use a die from the Flowers of Home dies)
Blessings of Home bundle which includes Blessings of Home stamp set and Flowers of Home dies
Happy and Heartfelt Sentiments
Bumblebee Trinkets

1. Stamp the large flower image from Blessings of Home on Shimmery White cardstock with Stazon Black ink
2. Color with watercolor pencils and then use blender pen to smooth out the color.
3. Cut out with the matching die in Flowers of Home and also cut the same die out of Thick Basic White cardstock to use as a layering piece.  Add the Basic White piece to the back of the shimmery white colored large flower to add dimension without bulk.
4. Stamp Happy mom day in the lower right corner of the wood pattern paper in Early Espresso ink.
5. Add melon mambo layer to card base, then add wood pattern paper from In Good Tase DSP to melon mambo layer.  
6.  Add colored flower image in the center of the card at an angle.
7.  Add Bumblebee trinkets to finish off the front of the card.  
For the inside of the card: I put two sentiments together from the Happy and Heartfelt stamp set.  I love this stamp set so much!  I then cut two die cuts from shimmery white card stock (the grass piece from Honeybee Blooms dies and the flower from Flowers of Home dies) and colored those with my watercolor pencils in Old Olive, Garden Green and Calypso Coral and smoothed the color out with my blender pen.  Next, I added them in the lower right corner and my card was finished!  

I sincerely hope you have enjoyed this tutorial.  If you would like to purchase any supplies, click on the shopping cart in the upper right.  It will take you to my website where you can click shop now 24/7.  Please leave me a message, I'd love to hear from you.  Thanks for taking time from your busy day to spend it with me.  

Until next time; be happy, stay healthy and happy stamping!
Teresa

Monday, January 29, 2018

You Warm My Heart narrow note card box

My project today is a box created with the Lots to Love Box framelits (145653) and the Sure Do Love You stamp set (145763) which can also be purchased as a bundle (145966) to save 10%.  The box is made from Powder Pink cardstock.  My next step was to stamp my heart as it needs time to dry.  I started with the heart image from Sure Do Love You.  I inked it up with Stampin’ Write markers in Sweet Sugarplum, Berry Burst and Rich Razzleberry working from lightest to darkest.  I then gently spritzed the stamp with water and quickly stamped it on a piece of watercolor paper.  After it dried, I die cut it with the coordinating framelits Lots to Love Box.  I then added a layer of the Petal Passion Designer Series Paper (145589) to the box top.  The sentiment is stamped on Powder Pink cardstock in Rich Razzleberry with a stamp from Lovely Wishes (145924).  The shape was stamped using Labels to Love (144967) and the Everyday Label Punch (144668).  The gold strip behind is actually a sticker from Painted Love Gold vinyl stickers (145586).  You get four sheets of stickers (2 each of 2 designs.). They are gorgeous and add elegance to any project.

This box was designed to hold the new Whisper White narrow note cards and Envelopes which are part of the Painted with Love suite.  The finished size of the box is 4 7/8" x 3 5/8" and will hold four note cards and envelopes (145583).  It can also be used to hold treats or small gifts.

I want to thank you for taking time from your busy day to visit my blog.  I hope you like what you've seen.  Please leave me comment and let me know your thoughts, I'd love to hear from you.  If you would like to purchase any of these items or any other Stampin' Up! products, please click on the shopping cart which will take you directly to my online store.  I hope you have a happy creative day!