Showing posts with label Cracker & Treat Box dies. Show all posts

Thursday, December 14, 2023

Light the Sky easy Cracker Treat box

First of all, it's FREE SHIPPING at Stampin' Up! today with a minimum $75 order before tax.  Be sure to get those orders in by 11:59 pm MT so you can qualify for the free shipping.  Orders are NOT guaranteed to arrive on or before Christmas.

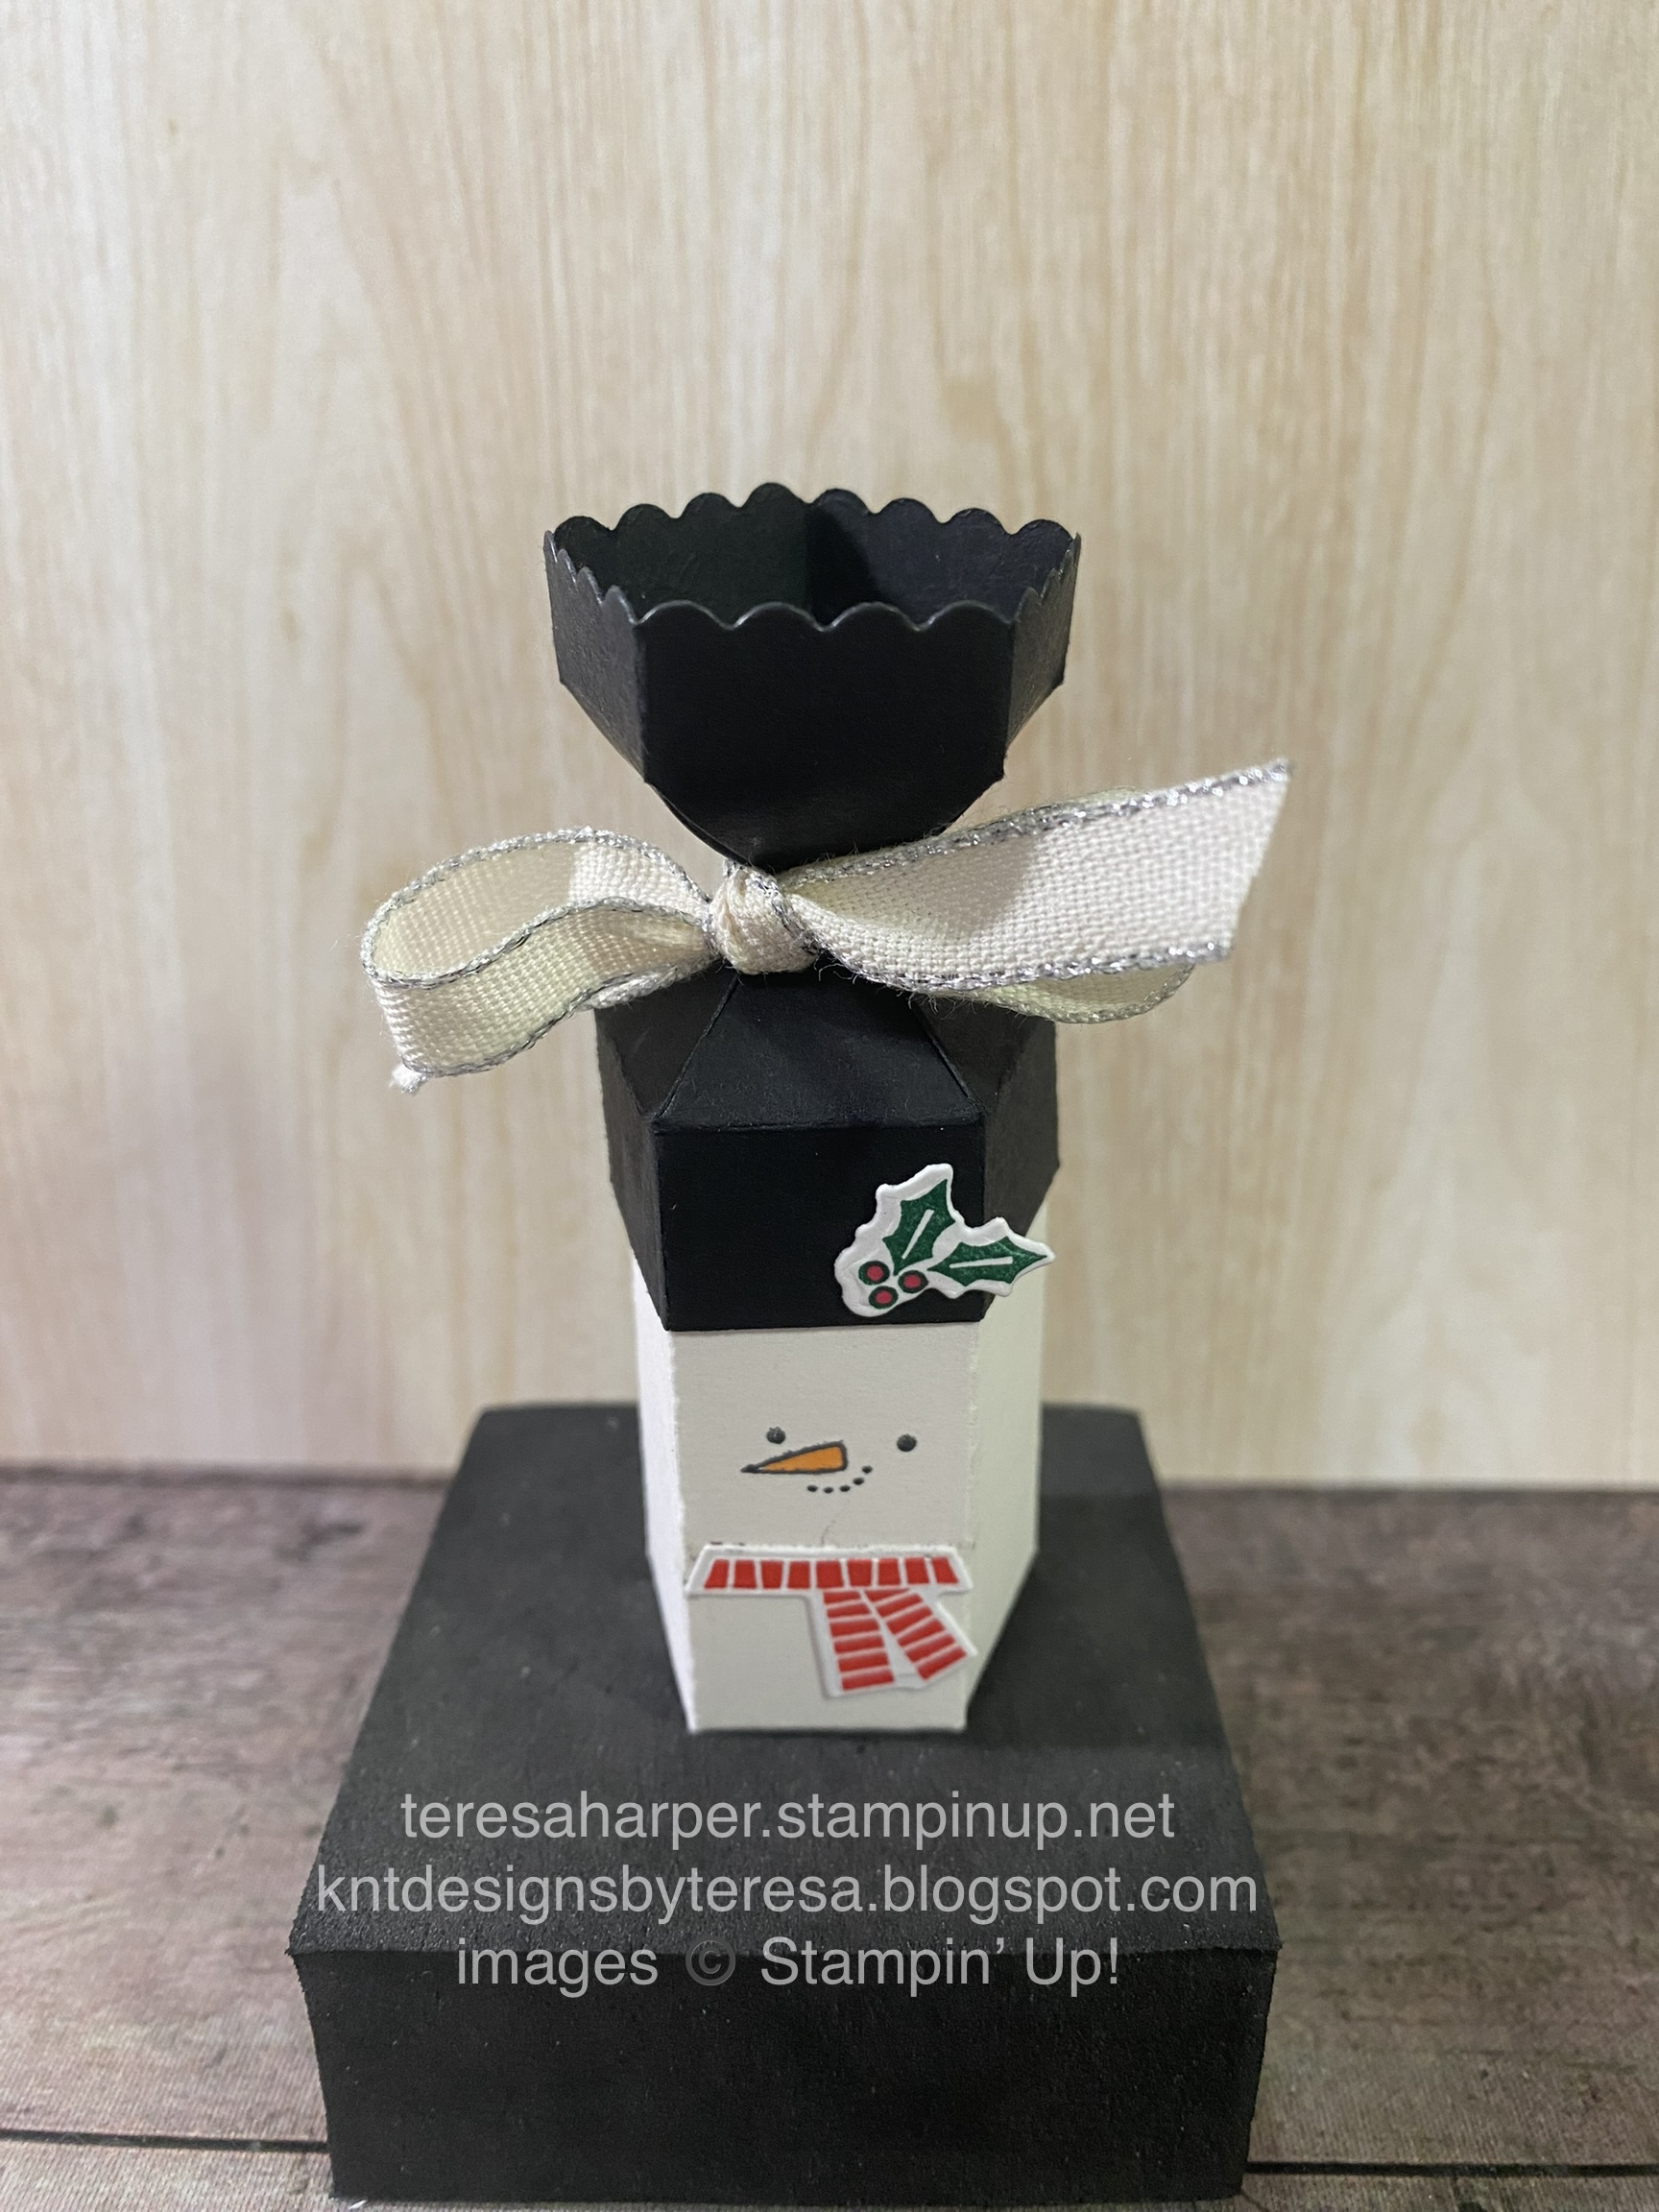
Today I am featuring the Light the Sky stamp set and making a New Year’s cracker for your festivities.  These are very quick and easy to assemble for your New Year’s celebrations or for any occasion!  They use a die that does all the work for you making the cracker, everything cut and scored, ready to assemble.  All you need to do is decorate after assembly.  To see how I’ve put these together, you can watch the replay on YouTube.


Measurements and Supplies:
Basic White cardstock for stamping
Gold & Silver 1/8" Trim Combo 161633

For Let's Celebrate Cracker:
Cracker & Treat Box dies 159182
Light the Sky stamp set 162289
Stylish Shapes dies 159183 (for sentiment tag or use the tags in the Cracker & Treat Box dies)
Stargazing Designer Series paper 6" x 5" landscape orientation
Ink Pads: Berry Burst, Crushed Curry, Orchid Oasis, Versa Mark
White embossing powder, 155554
Heat Tool 129053
Embossing Additions Tool kit 159971

For Christmas Cracker:
Beary Cute Stamp set 162016
Double Oval Punch 154242
Ink Pads: Balmy Blue, Real Red, Smoky Slate
blending brush
Beary Christmas DSP, 6' x 5" in landscape orientation
Basic White cardstock for stamping

Thanks so much for stopping by today.  If you would like to take advantage of the free shipping today only, click the shopping cart on the right.  It will take you to my online store.  

Until next time; be happy, stay healthy and happy stamping!
Teresa


Saturday, November 26, 2022

Snowman Magic Cracker Treat box, 9th in the 12 Projects of Christmas 2022

 I sure hope everyone survived Thanksgiving Day and Black Friday shopping.  I had such a good time!  It's a tradition for my mom and I to get up early each Black Friday and spend the day together shopping, having lunch and just enjoying each other's company.  We've missed a handful of years, but we both look forward to our time together each year.  

Today's project was inspired by Tami White.  I figured out my own measurements for the box to fit the treats I wanted to put in them.  The Snowman treats I found at my local Home Goods store.  The brand is LaSuissa, made in Italy, milk chocolate filled with cocoa cream.  I myself am more of a dark chocolate fan, but I couldn't pass up those little snowmen for this project.  To see how I've put it together, be sure to watch my YouTube channel replay HERE:


This is the template of how each piece should look when you die cut them.  Be sure to trim 1/8” or so off each end piece of the white as shown in the video.


Measurements and supplies:

Snowman Magic stamp set
Cracker and Treat Box dies
Shimmer or Basic White cardstock, 2 5/8 x 5
Basic Black cardstock, 2 1/4 x 5"
Scraps of Basic White for scarf and holly
Ink Pads: Memento Black, Shaded Spruce and any color for scarf (Sweet Sorbet)
Stampin' Blends in Lt. Pumpkin Pie and Lt. Cherry Cobbler
Silver Metallic Edge Cotton Ribbon

Thank you so much for stopping by!  If you would like to purchase any Stampin' Up! supplies, click on the shopping cart in the upper right.  Please leave me a comment, I'd love to hear from you.

Until next time; be happy, stay healthy and happy stamping!
Teresa


Saturday, October 29, 2022

Vintage Christmas Cheerful Basket Fun Fold card

 For my card today, I’ve tried to show how you can take a stamp set not intended necessarily for Christmas and make a beautiful holiday card.  Of course, by changing up the colors and the sentiment, this card could be used for any occasion.  We are again using Hello Harvest and this time we’ll be pairing with Vintage Christmas and bringing in the basket image from Cheerful Basket.  I hope you are inspired to take a look at your stamps in a new way to see their versatility.   This card uses a fun fold which shows off both sides of your Designer Series Paper!  To watch how I put this card together and get some tips for lining up the Designer Series Paper, be sure to watch the video over on my YouTube channel HERE:


Measurements and Supplies:
Hello Harvest bundle (includes Rustic Pumpkin dies)
Cheerful Basket
Vintage Christmas
Cracker & Treat Box dies (for sentiment label)
Seasonal Labels dies for vellum
Cherry Cobbler CS 5 1/2 x 5 1/2", scored on one side at 4 1/4"
Very Vanilla CS (inside layer 4 x 5 1/4" & scraps for stamping and die cutting images)
Cardstock Vellum 3 1/4 x 4 (approx) for die cutting background layer
Crumb Cake CS for basket image approx 2 1/4 x 2 1/4"
Lights Aglow DSP (pattern paper) Either 1 or 2 cut at 4 x 5 1/4", two pieces 1 x 5 1/4"
Soft Succulent CS 1/2 x 2 1/4 for sentiment
Satin Edged Ribbon
Festive Pearls
Snowfall Accents Puff Paint
Heat Tool
Ink Pads in Early Espresso, Evening Evergreen and Memento Black
Stampin' Blends alcohol markers: Soft Succulent, Evening Evergreen, Cherry Cobbler, Dk Orchid Oasis, Dk So Saffron & Lt. Crumb Cake
Watercolor Pencil in Early Espresso
Blender Pen
Wink of Stella clear glitter pen
die cut machine

To shop my online store for Stampin' Up! supplies, please click on the shopping cart in the upper right corner.  I would be every so grateful for your business.  Please leave me a comment.  

Until next time; be happy, stay healthy and happy stamping!
Teresa