Saturday, October 29, 2022

Vintage Christmas Cheerful Basket Fun Fold card

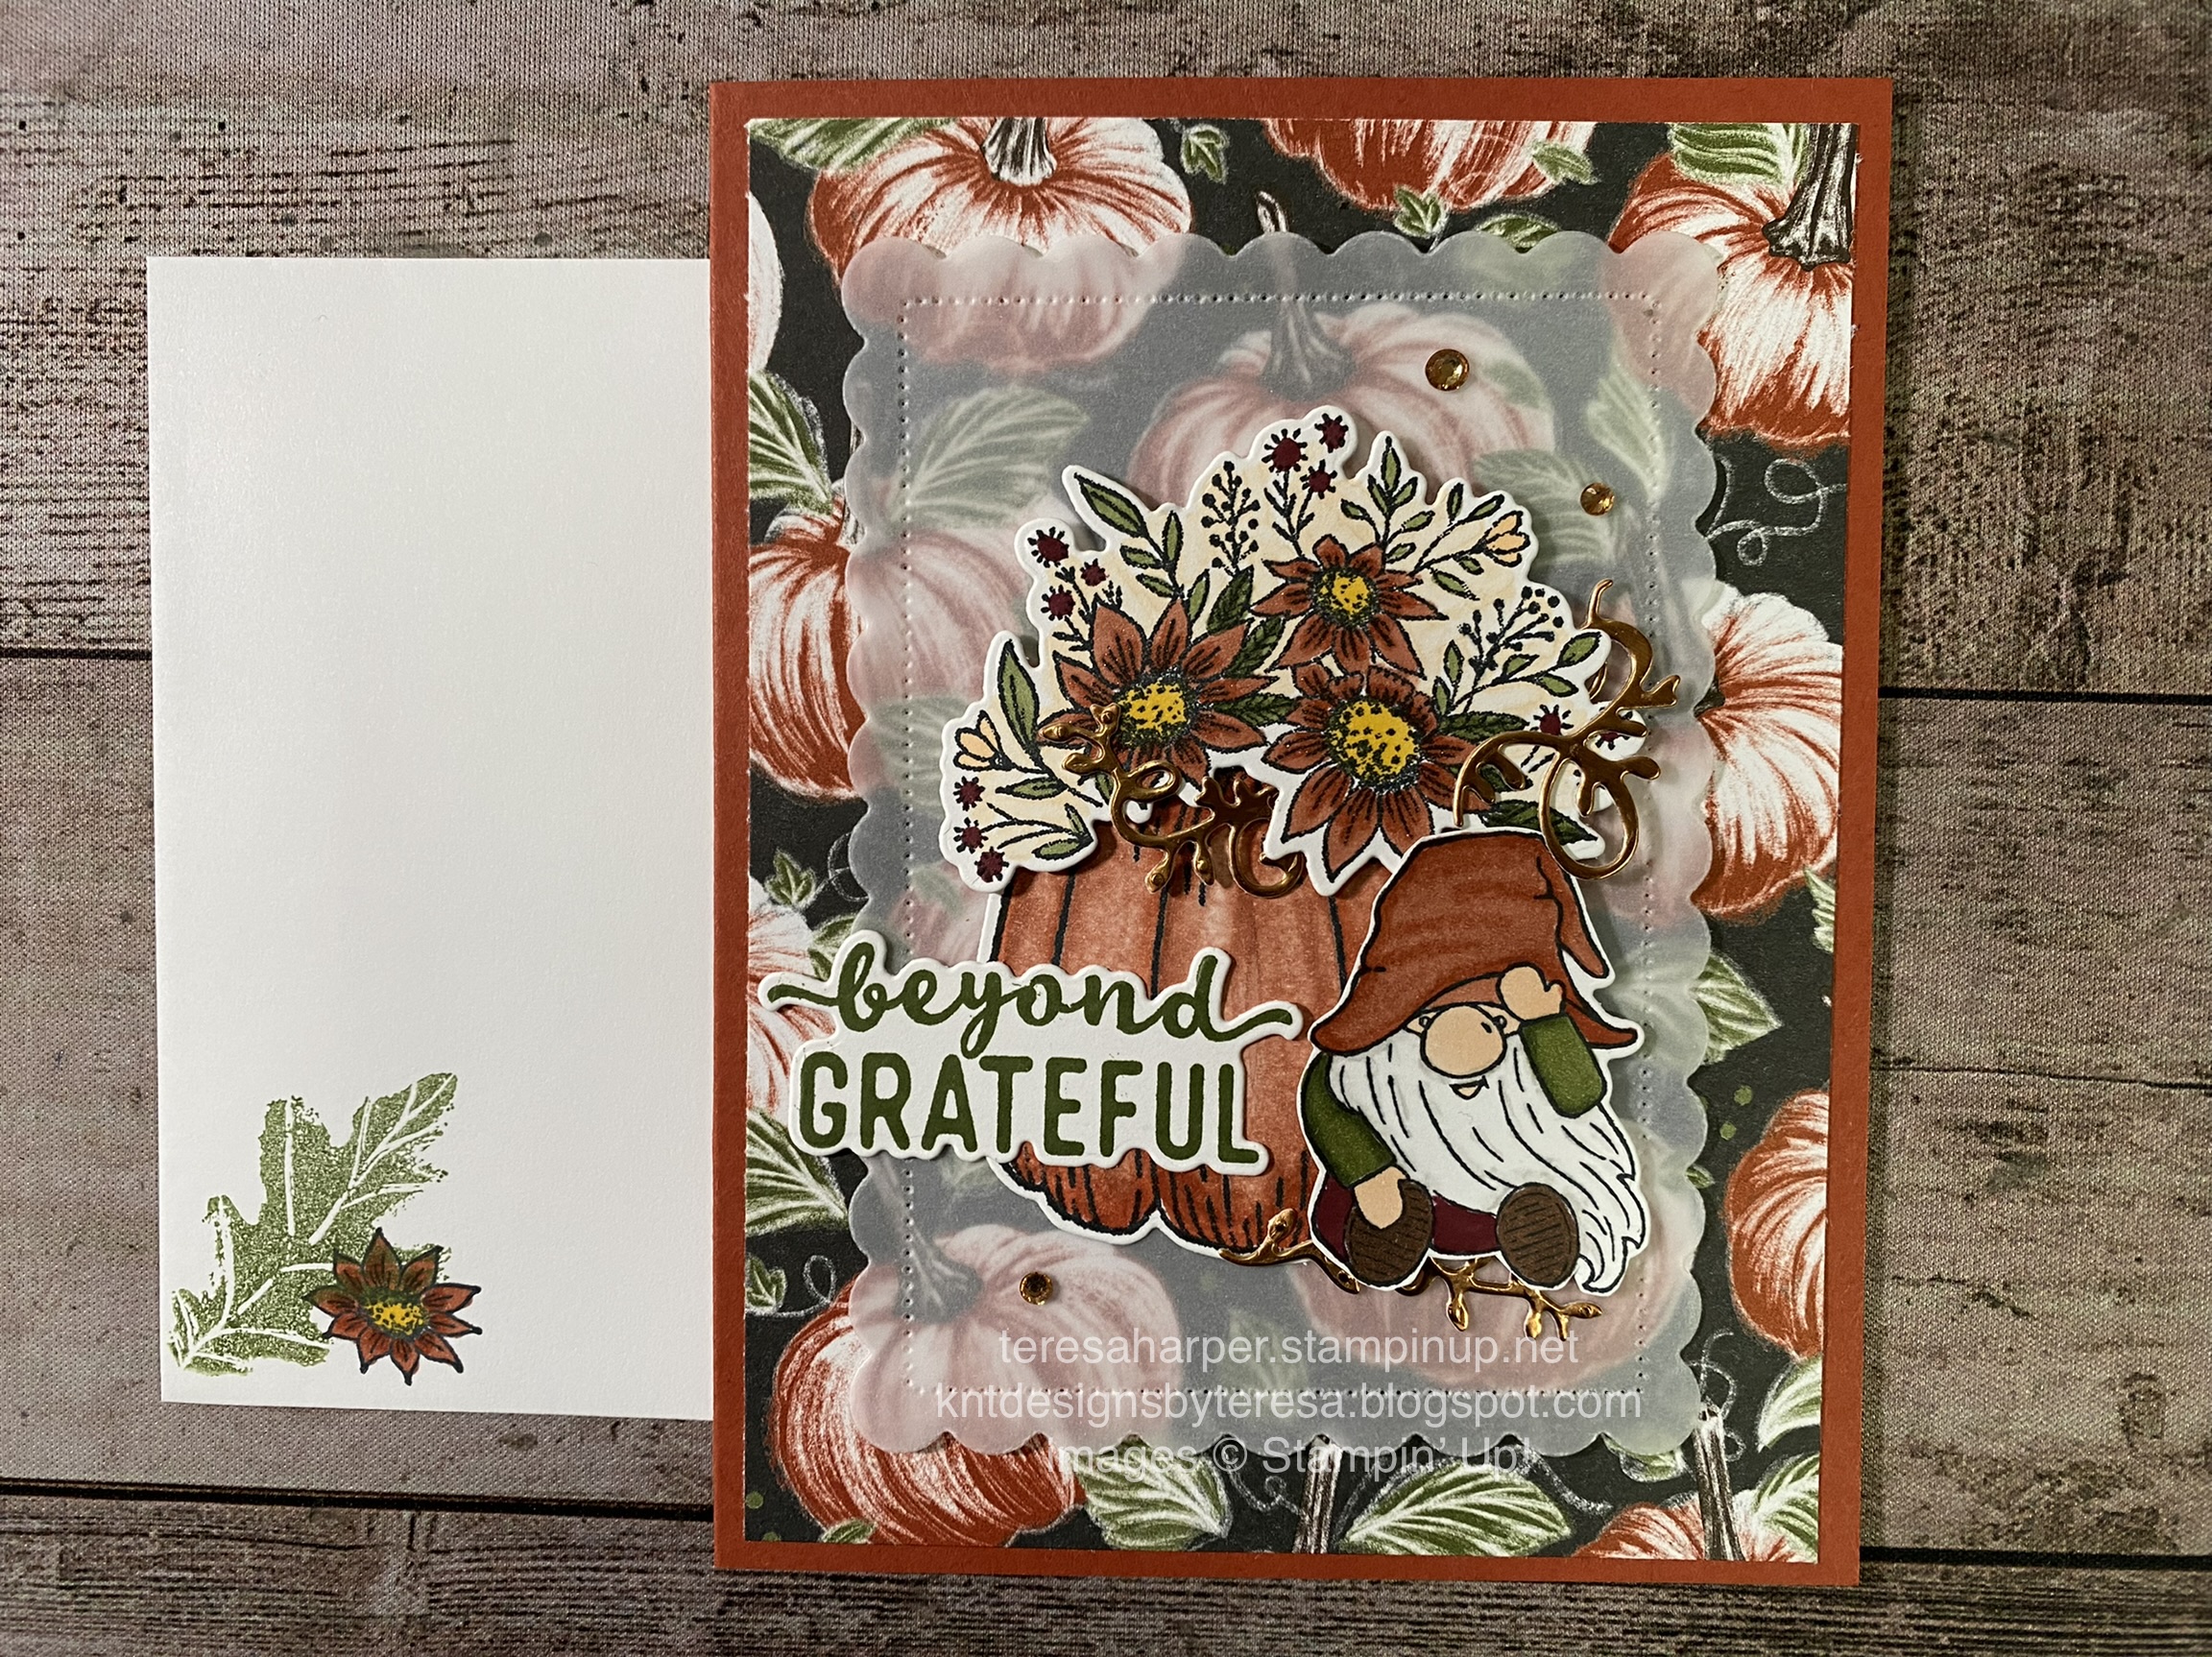
 For my card today, I’ve tried to show how you can take a stamp set not intended necessarily for Christmas and make a beautiful holiday card.  Of course, by changing up the colors and the sentiment, this card could be used for any occasion.  We are again using Hello Harvest and this time we’ll be pairing with Vintage Christmas and bringing in the basket image from Cheerful Basket.  I hope you are inspired to take a look at your stamps in a new way to see their versatility.   This card uses a fun fold which shows off both sides of your Designer Series Paper!  To watch how I put this card together and get some tips for lining up the Designer Series Paper, be sure to watch the video over on my YouTube channel HERE:


Measurements and Supplies:
Hello Harvest bundle (includes Rustic Pumpkin dies)
Cheerful Basket
Vintage Christmas
Cracker & Treat Box dies (for sentiment label)
Seasonal Labels dies for vellum
Cherry Cobbler CS 5 1/2 x 5 1/2", scored on one side at 4 1/4"
Very Vanilla CS (inside layer 4 x 5 1/4" & scraps for stamping and die cutting images)
Cardstock Vellum 3 1/4 x 4 (approx) for die cutting background layer
Crumb Cake CS for basket image approx 2 1/4 x 2 1/4"
Lights Aglow DSP (pattern paper) Either 1 or 2 cut at 4 x 5 1/4", two pieces 1 x 5 1/4"
Soft Succulent CS 1/2 x 2 1/4 for sentiment
Satin Edged Ribbon
Festive Pearls
Snowfall Accents Puff Paint
Heat Tool
Ink Pads in Early Espresso, Evening Evergreen and Memento Black
Stampin' Blends alcohol markers: Soft Succulent, Evening Evergreen, Cherry Cobbler, Dk Orchid Oasis, Dk So Saffron & Lt. Crumb Cake
Watercolor Pencil in Early Espresso
Blender Pen
Wink of Stella clear glitter pen
die cut machine

To shop my online store for Stampin' Up! supplies, please click on the shopping cart in the upper right corner.  I would be every so grateful for your business.  Please leave me a comment.  

Until next time; be happy, stay healthy and happy stamping!
Teresa

Thursday, October 27, 2022

Beyond Grateful Gnome Hello Harvest card

Hello and thank you for stopping by my blog today!  I appreciate your time and interest.  Today’s project is my final Autumn card for the season.  I’ve used Hello Harvest along with the Kindest Gnomes to create this beautiful card you could send for Thanksgiving or just as a thank you to someone.  To watch how I put this card together, you can watch the replay over on my YouTube channel HERE:


Measurements and Supplies:
Hello Harvest Bundle (includes Rustic Pumpkin dies)
Kindest Gnomes bundle (includes Gnome dies)
Charming Sentiments bundle (includes Sentiment Silhouettes dies)
Scalloped Contours dies
Wink of Stella clear glitter pen
Champagne Rhinestones
Cajun Craze cs 5 1/2 x 8 1/2", scored in the middle at 4 1/4" 
Basic White cs 3 3/4 x 5 1/2" for stamping and die cutting images
Basic White cs for inside layer 3 5/8 x 4 7/8"
Cardstock Vellum 3 1/2 x 4 3/4" for die cutting scalloped rectangle
Autumn Harvest DSP (pattern paper) 4 x 5 1/4" & 1/2 x 4 7/8"
Scrap of Copper Foil sheets  approx 2 x 1 5/8"  
Ink pads in Mossy Meadow and Memento Tuxedo Black
Stampin' Blends alcohol markers: Pale Papaya, Cajun Craze, Mossy Meadow, Natural Tones Deep (SU 200) and Light (SU 900), Lt. Gray Granite, Dk Daffodil Delight, Color Lifter
Stampin' Write marker in Merry Merlot

To shop my online store for Stampin' Up! supplies, please click on the shopping cart in the upper right corner.  I would be every so grateful for your business.  Please leave me a comment.  

Until next time; be happy, stay healthy and happy stamping!
Teresa

Saturday, October 22, 2022

Fond of Autumn becomes Christmas!

 Happy Saturday everyone!  Today I have the second card I made during my FB live on Tuesday, October 19, 2022.  I've again used the Fond of Autumn bundle, but this time, we're making a Christmas card with it.  So much fun!  I love to use my products in unexpected ways.  You will see a sneak peak of new product which will be available to customers beginning November 1.  It's called the Fitting Florets collection.  I've used the Framed and Festive stamp set and the Framed Florets dies out of the collection on today's card.  I hope you love what you see and that you are inspired to look at your stamps in a different light.  To see how I put this card together, hop on over to my YouTube channel and watch the replay HERE:


Card pictured below uses all the same measurements as the first card.  The only changes are the sentiment (which comes from Celebrate With Tags) and the embossing folder (Whimsical Trees)
Supplies and Measurements:
Fond of Autumn Bundle 159838
Framed Florets Dies (available beginning Nov. 1)
Framed and Festive stamps (available beginning Nov. 1) OR Celebrate with Tags stamp set
Very Best Occasions stamps (inside sentiment)
Evening Evergreen cardstock 5 1/2 x 7 1/2", scored at 4 1/4"
Soft Succulent cardstock 4 x 5 1/4, embossed with Merry Melody or Whimsical Trees 3D folder, cut at 3" on the 4 1/4" side after embossing.
Basic white cardstock for stamping and die cutting
Cherry Cobbler cardstock for die cutting
Basic white cardstock 3 x 5 1/4" for inside layer
Evening Evergreen Open Weave ribbon
Festive Pearls
Wink of Stella glitter pen
Ink Pads in Memento Tuxedo Black and Evening Evergreen
Stampin' Blends alcohol markers: Polished Pink, Evening Evergreen, Soft Succulent, Cherry Cobbler, Dark Daffodil Delight, SU 200 (Deep Natural Tones collection)

Thanks for stopping by today!  Please leave a comment.  To shop my online store, click on the shopping cart in the upper right corner.  

Until next time; be happy, stay healthy and happy stamping!
Teresa