Hello everyone, it’s been a very long time since I have blogged. Life got in the way….I’ve spent months watching the grandkids while my daughter went to work throughout the pandemic. 2-4 little ones can really take it out of you. While I worked on doing Facebook live videos, the blogging went by the wayside. I’m definitely going to try to be better about it. With kids physically back in school, I don’t feel quite so exhausted. So let’s give this a try!
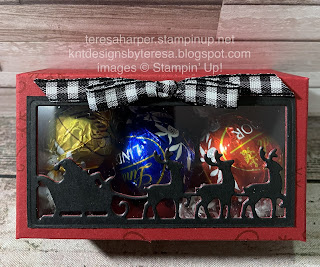
Today, I am sharing a treat box I designed specifically to hold three Linder truffles, but when I got it finished, I discovered it fits two fun size candy bars, as well as a fun size candy bar and a 2 pack of Biscoff cookies. It is perfect for those extra special people in your life you’d like to give a little treat to this Halloween.
First you will want to stamp the front panel for your box. I cut a piece of Basic White cardstock 1 7/8 x 3 3/8 for the front. To this I used my blending brush to add some Granny Apple Green ink, then using the Banner Year stamp set by Stampin’ Up!, I stamped the cobweb image all around the outside edges. Set this aside. For the treat box, start with a piece of cardstock 6 1/2” x 7”. With the 6 1/2” side at the top of your Simply Scored tool, score at 1 1/4, 4 3/4 and 6. Rotate clockwise 1/4 turn.
On the 7” side, score at 1 1/4, 3 1/4, 4 1/2 and 6 1/2”. See template for cutting. You can also watch my YouTube video over at Teresa Harper KntdesignsbyTeresa or check out my Facebook Live replay at KnT Designs by Teresa. I found it easiest to add my front panel to the box prior to putting the box together. Add the stamped panel to the portion of the box with the box flap at the top. You can add after you have made the box if you wish.
I used Basic black cardstock for my box base. After putting my box together, I stamped the sentiment which is also included in the Banner Year stamp set, in Momento Tuxedo Black ink on Basic White cardstock and cut with a die from the Frightful Tags dies and also cut the same tag in basic black then adhered them together and glued directly to the front panel. From the Cute Halloween Designer Series Paper, I fussy cut the three ghost images and added them to the stamped layer.
The finished box size is 2” x 3 1/2” x 1 1/4”.
Thanks for taking time out of your day to spend a little time with me. I hope you are inspired to make a treat box for someone special. Leave me a comment and let me know what you think. I’d love to hear from you. If you’d like to purchase any of the items I’ve used, you can shop my online store by clicking on the shopping cart in the upper right. Thank you in advance.